

Fast Hyperlinks
Normal Mac Command Line Ideas Terminal Instructions to Enhance Your Workflow
Key Takeaways
Whereas the Mac’s desktop GUI is simple to make use of and ample for many of your on a regular basis wants, the Terminal utility helps you to get beneath the hood and use some highly effective text-based instructions to perform all types of duties.
There are sooner methods to search out out the place that pesky 5GB file is hiding or the trail of each file associated to that app you thought you deleted. For these jobs and others, the Mac Terminal is your new greatest pal.
What Is the Terminal?
The Terminal is a utility that means that you can work together together with your Mac by means of the command line. Linux working programs embody related instruments, since each Linux and macOS are Unix-like OSes. Whereas the macOS Terminal previously used Bash instructions, ever since macOS Catalina it has been primarily based on zsh (Z shell). The fundamental instructions we’re utilizing right here ought to work with both, nevertheless.
There are numerous methods to open the Terminal in your Mac. When you begin utilizing it, you can even customise the zsh immediate within the Mac Terminal to your preferences.
There are various extra issues you are able to do within the Terminal, too. By putting in the Homebrew bundle supervisor, you should utilize it to put in new programming languages, software program repositories, and extra.
Normal Mac Command Line Ideas
First, let’s take a look at a couple of primary Terminal information you need to know.
Normal Syntax
A zsh (or Bash) command sometimes follows this sample:
[Command] [Options] [Input or Path to File or Directory]
For instance, within the command:
ls -la Downloads
…to listing the contents of the Downloads folder:
ls is the command -la is a compound of two particular person choices: -l (lengthy itemizing format) and -a (all recordsdata and directories) Downloads is the trail to the listing (folder)
The Path
Understanding paths will assist you to perceive how macOS really sees your recordsdata. Primarily, the trail of a file is the Russian dolls’ nest of folders wherein it is contained, adopted by the identify of the file itself.
For instance, on a Mac, the complete path of a file referred to as My Secrets and techniques that lives on person John Doe’s Desktop is:
/Customers/jdoe/Desktop/“My Secrets and techniques”
In case you are already in that person’s house folder, nevertheless—test with the pwd command—you’ll be able to simply use a relative path:
Desktop/“My Secrets and techniques”
White House
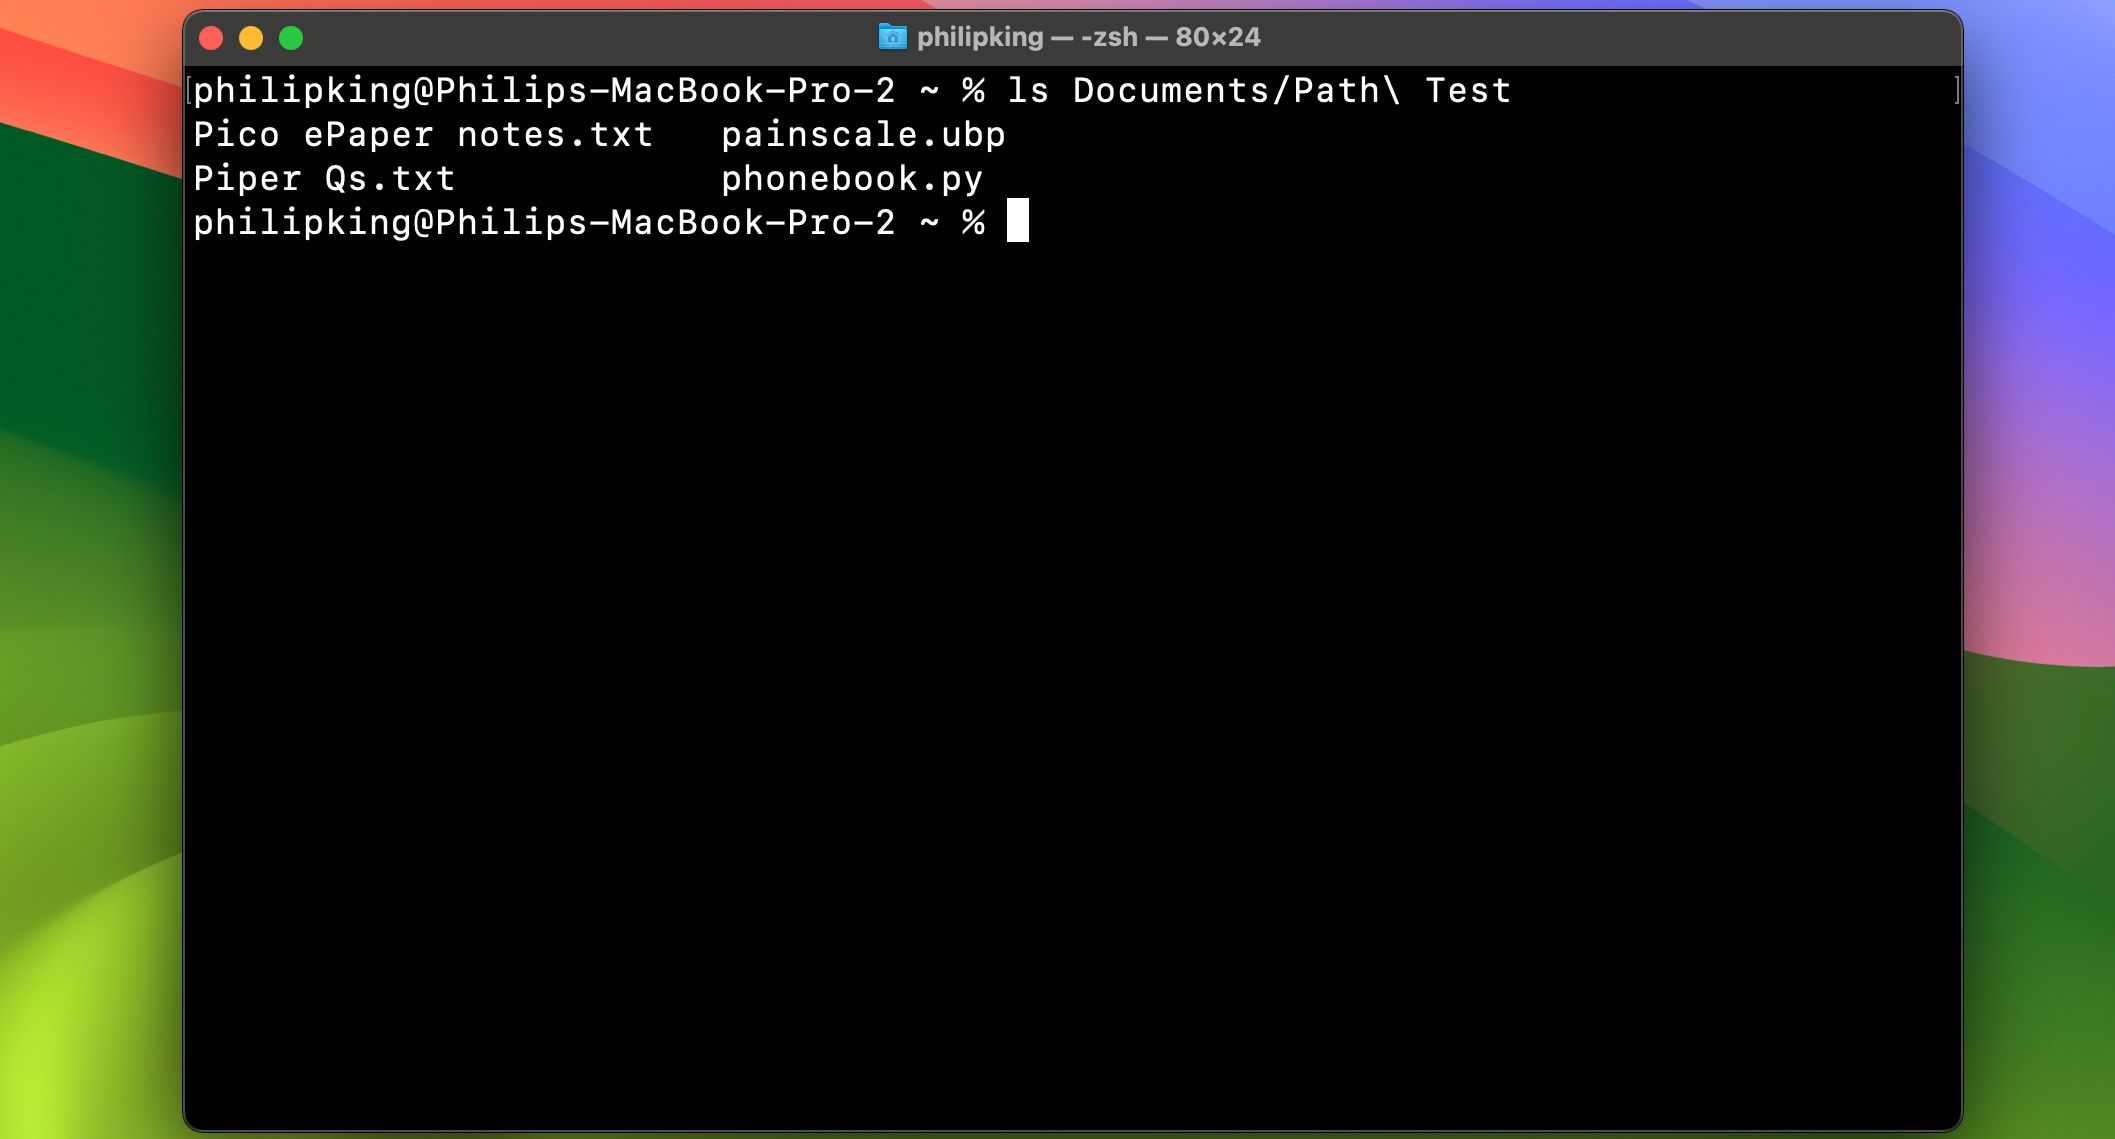
You should escape white house for the Terminal to course of it correctly. When zsh sees an area, it interprets it as the top of a command. So if in case you have a folder with areas in its identify, like Path Check, and also you attempt to listing its contents with:
ls Paperwork/Path Check
…you may get the error “No such file or listing”. What is going on on right here? Effectively, zsh thinks that you simply referred to as ls on Paperwork/Path. When it could not discover a file or listing with that identify, it stopped.
If you would like zsh to acknowledge the complete identify of your folder, you’ll be able to both wrap the identify in quotes:
ls Paperwork/“Path Check”
Or you should utilize a backslash earlier than the house:
ls Paperwork/Path Check
The contents of the Path Check listing will then be listed.
Sudo
Lots of the instructions beneath require administrator-level entry. In the event you’re not at present signed into the administrator account, however you already know the administrator’s password, you’ll be able to place sudo (which stands for “superuser do”) in entrance of the command to briefly give it administrator-level privileges.
Terminal Instructions to Enhance Your Workflow
Now that you already know the fundamentals, let’s check out among the handiest Terminal instructions. Be aware you can pull up full info on these instructions, together with all their choices and examples, by typing:
man <command identify>
…into the Terminal.
discover
Replaces: Highlight
Why it is higher: It is sooner and searches system folders that Highlight excludes, or has hassle indexing. Highlight tends to skip macOS system recordsdata except you inform it to not, and even then can have hassle indexing them. Conversely, the Terminal discover command can seek for something, in anyplace, and can output the complete path of what you are on the lookout for.
The syntax of discover consists of 4 components. So as, they’re:
discover the trail of the listing (folder) you wish to search (Paperwork beneath) choices (the instance beneath has -d (listing depth stage) and -name (match the identify) the string to look (the beneath instance has Google Chrome)
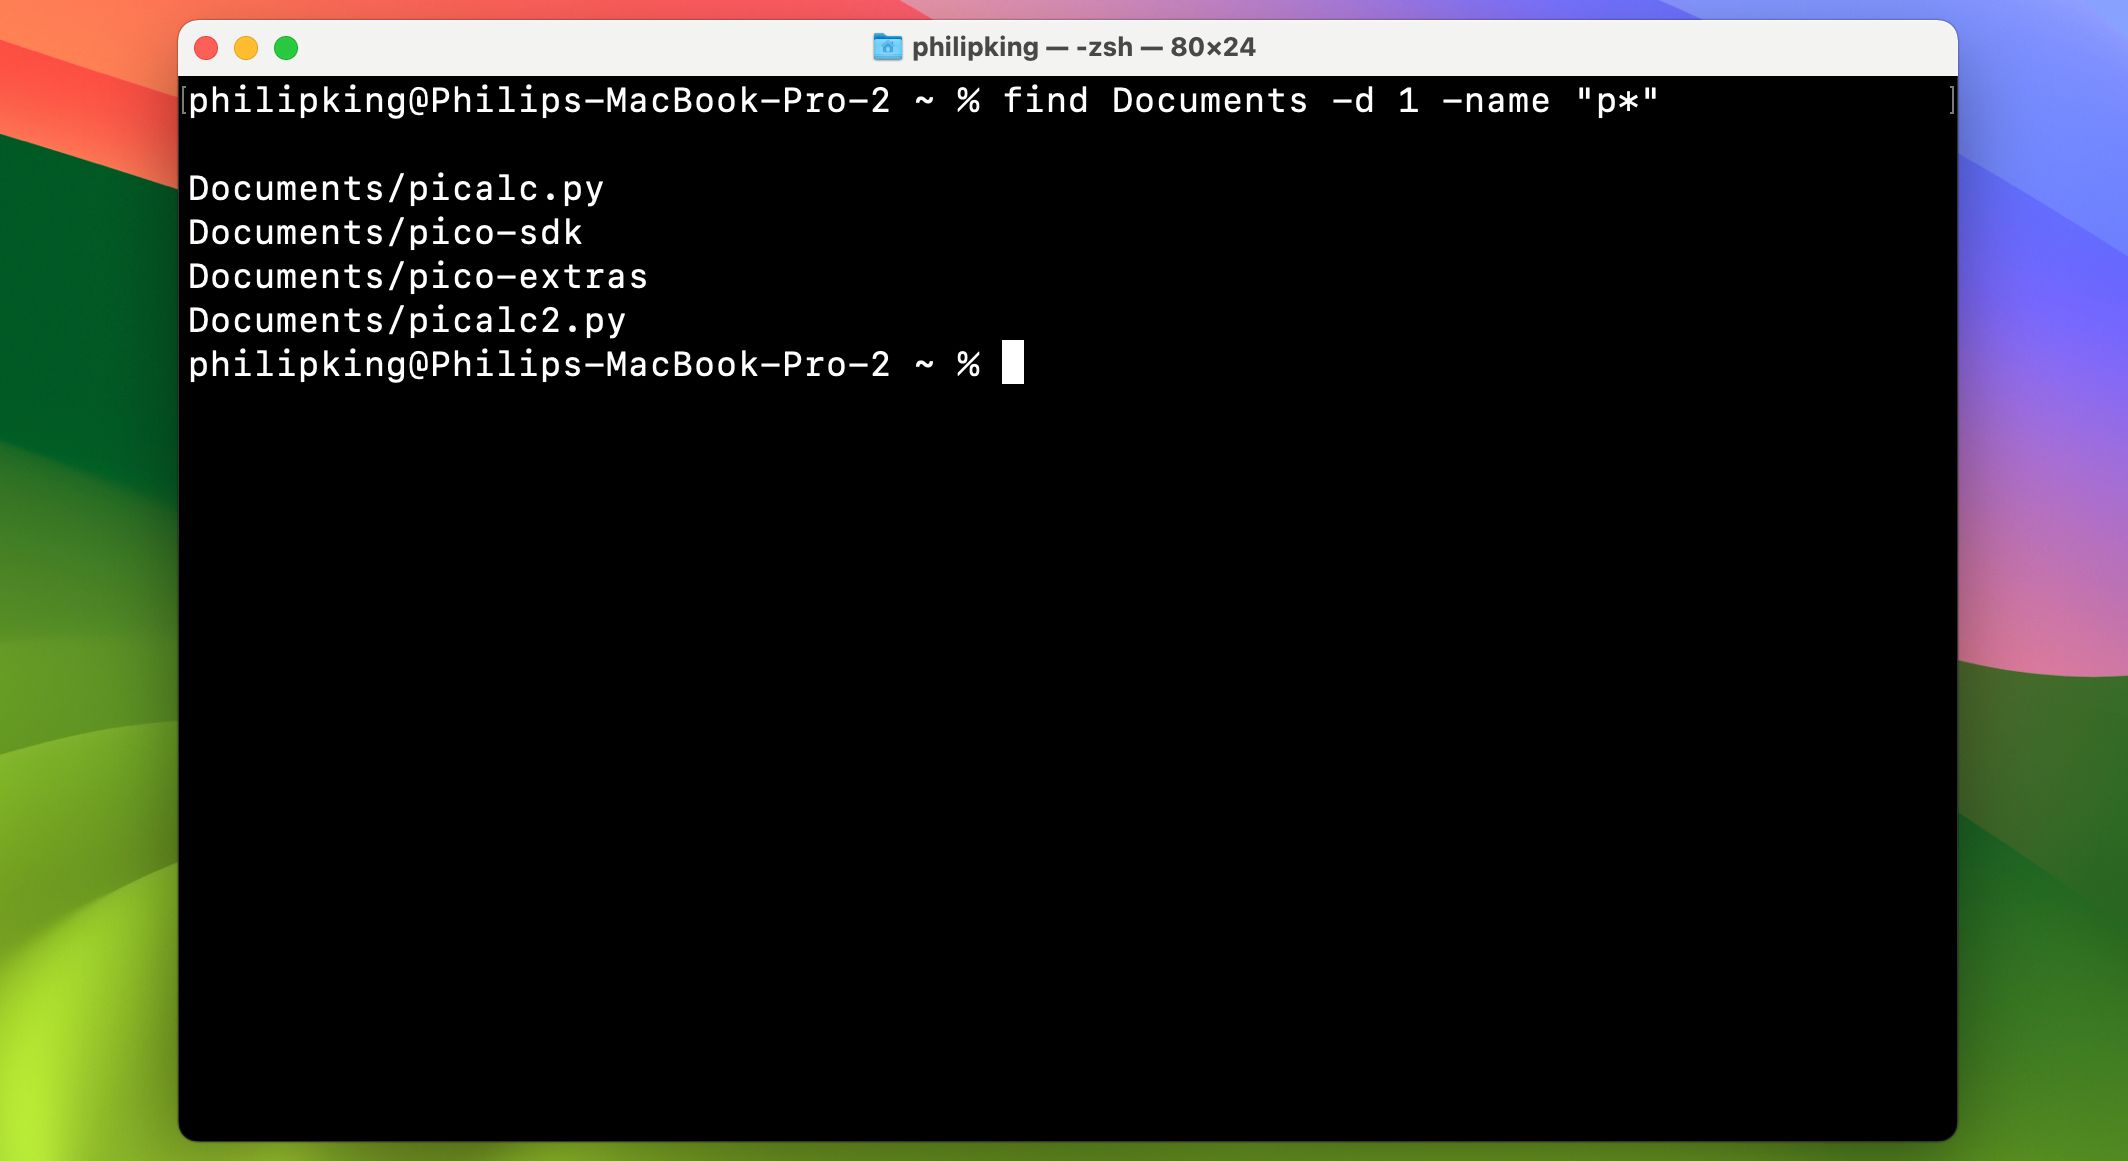
It’s best to know that discover makes use of regex (additionally referred to as common expressions). Right here we’re utilizing the asterisk (*), which acts as a wildcard character. Placing it on the finish of the search string signifies that discover will output outcomes which have characters earlier than and after the search time period.
All of it comes collectively to appear to be this:
discover Paperwork -d 1 -name “p*”
This finds all recordsdata or directories with names beginning with a lower-case “p” within the Paperwork listing (with out wanting in any of its subdirectories, as a result of -d 1 depth stage 1 choice).
du
Replaces: Cmd + I to indicate data.
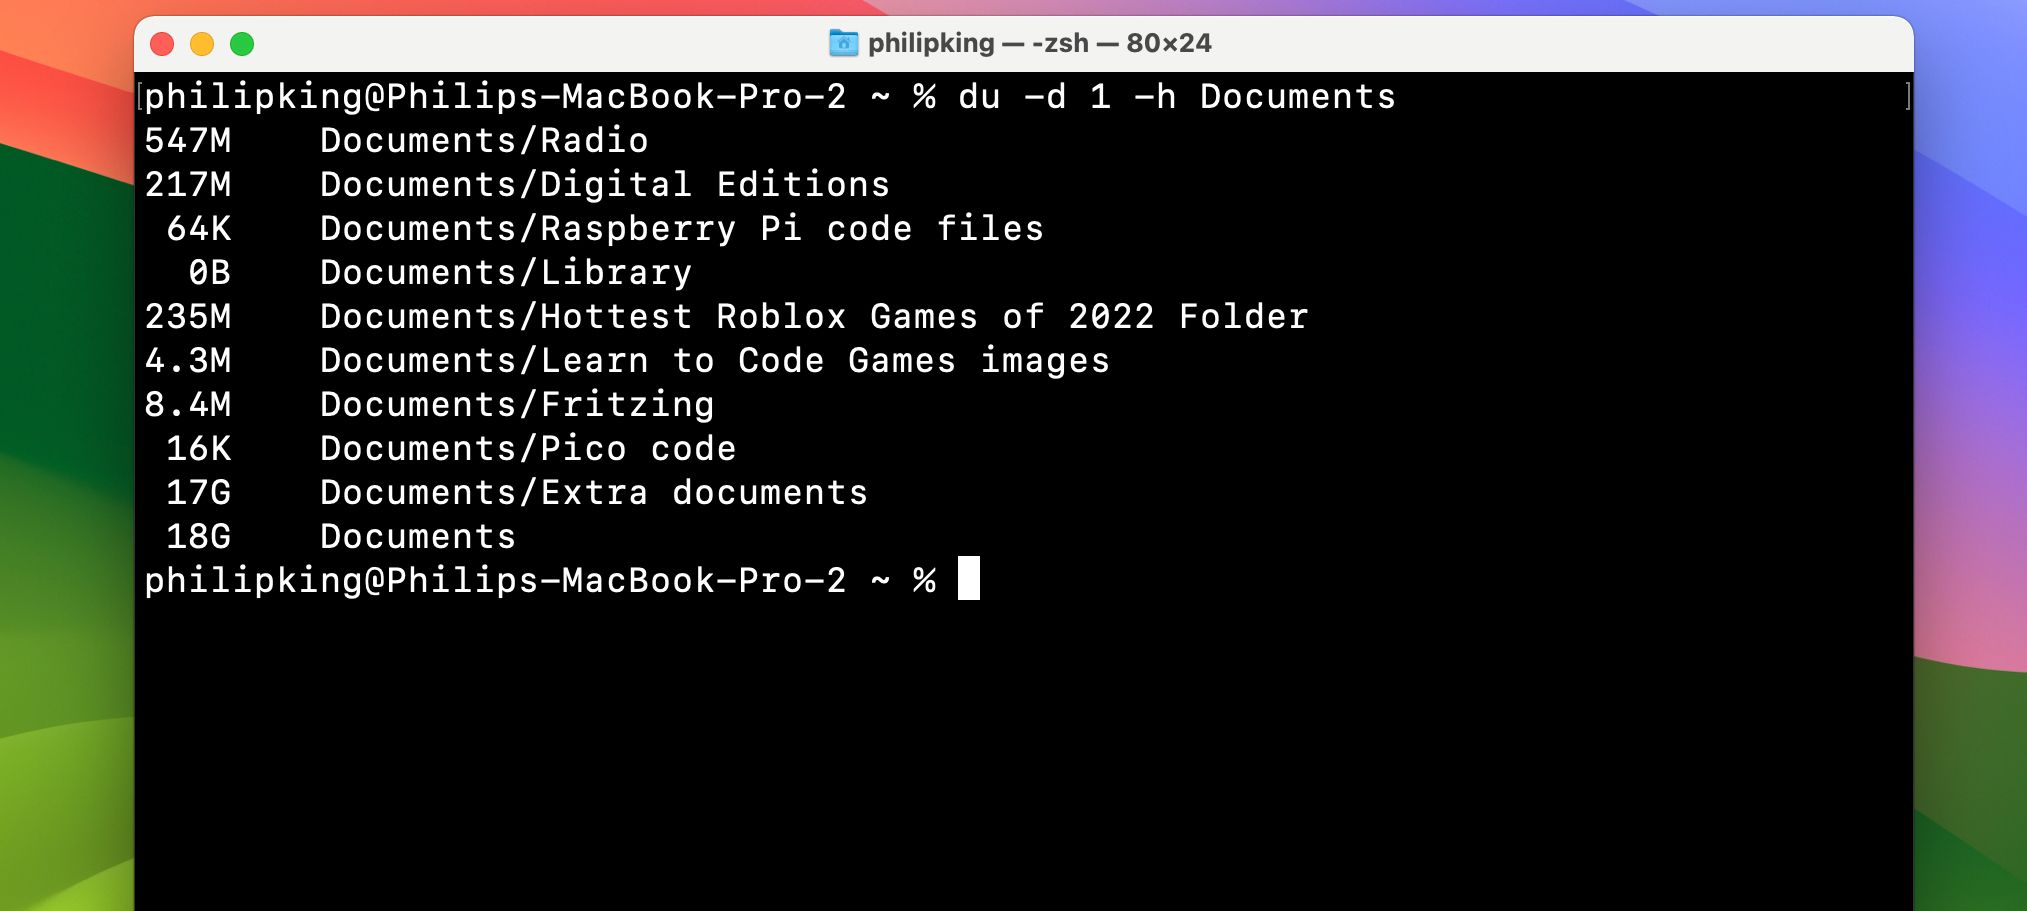
Why it is higher: It might probably present you a number of folders without delay, and sometimes takes much less time to load. du stands for “disk utilization,” and may shortly inform you the scale of a file or folder, or perhaps a listing of recordsdata inside a folder. One of the best choices for du are:
-d (depth): When adopted by a quantity, tells du to restrict its search to a -d stage of depth within the listing the place it runs. For instance, du -d 1 Paperwork will solely present you the entire measurement of the recordsdata and first stage of subfolders in your Paperwork folder. -h (human readable): Exhibits you the scale of your recordsdata in Ok, M, or G, which stands for kilo, mega, or gigabytes.
mv
Replaces: Level-and-click transferring of folders and recordsdata.
Why it is higher: It is sooner and requires no navigation. You’ll be able to shortly transfer a file or folder into one other folder utilizing mv. It really works by merely altering the identify of the trail.
The syntax is:
mv <previous file path> <new file path>
For instance:
mv /Customers/jdoe/Paperwork/file1.rtf /Customers/jdoe/Desktop/file1.rtf
…will transfer file1.rtf from the jdoe person’s Paperwork folder to the Desktop.
ls
Replaces: Cmd + I to indicate data.
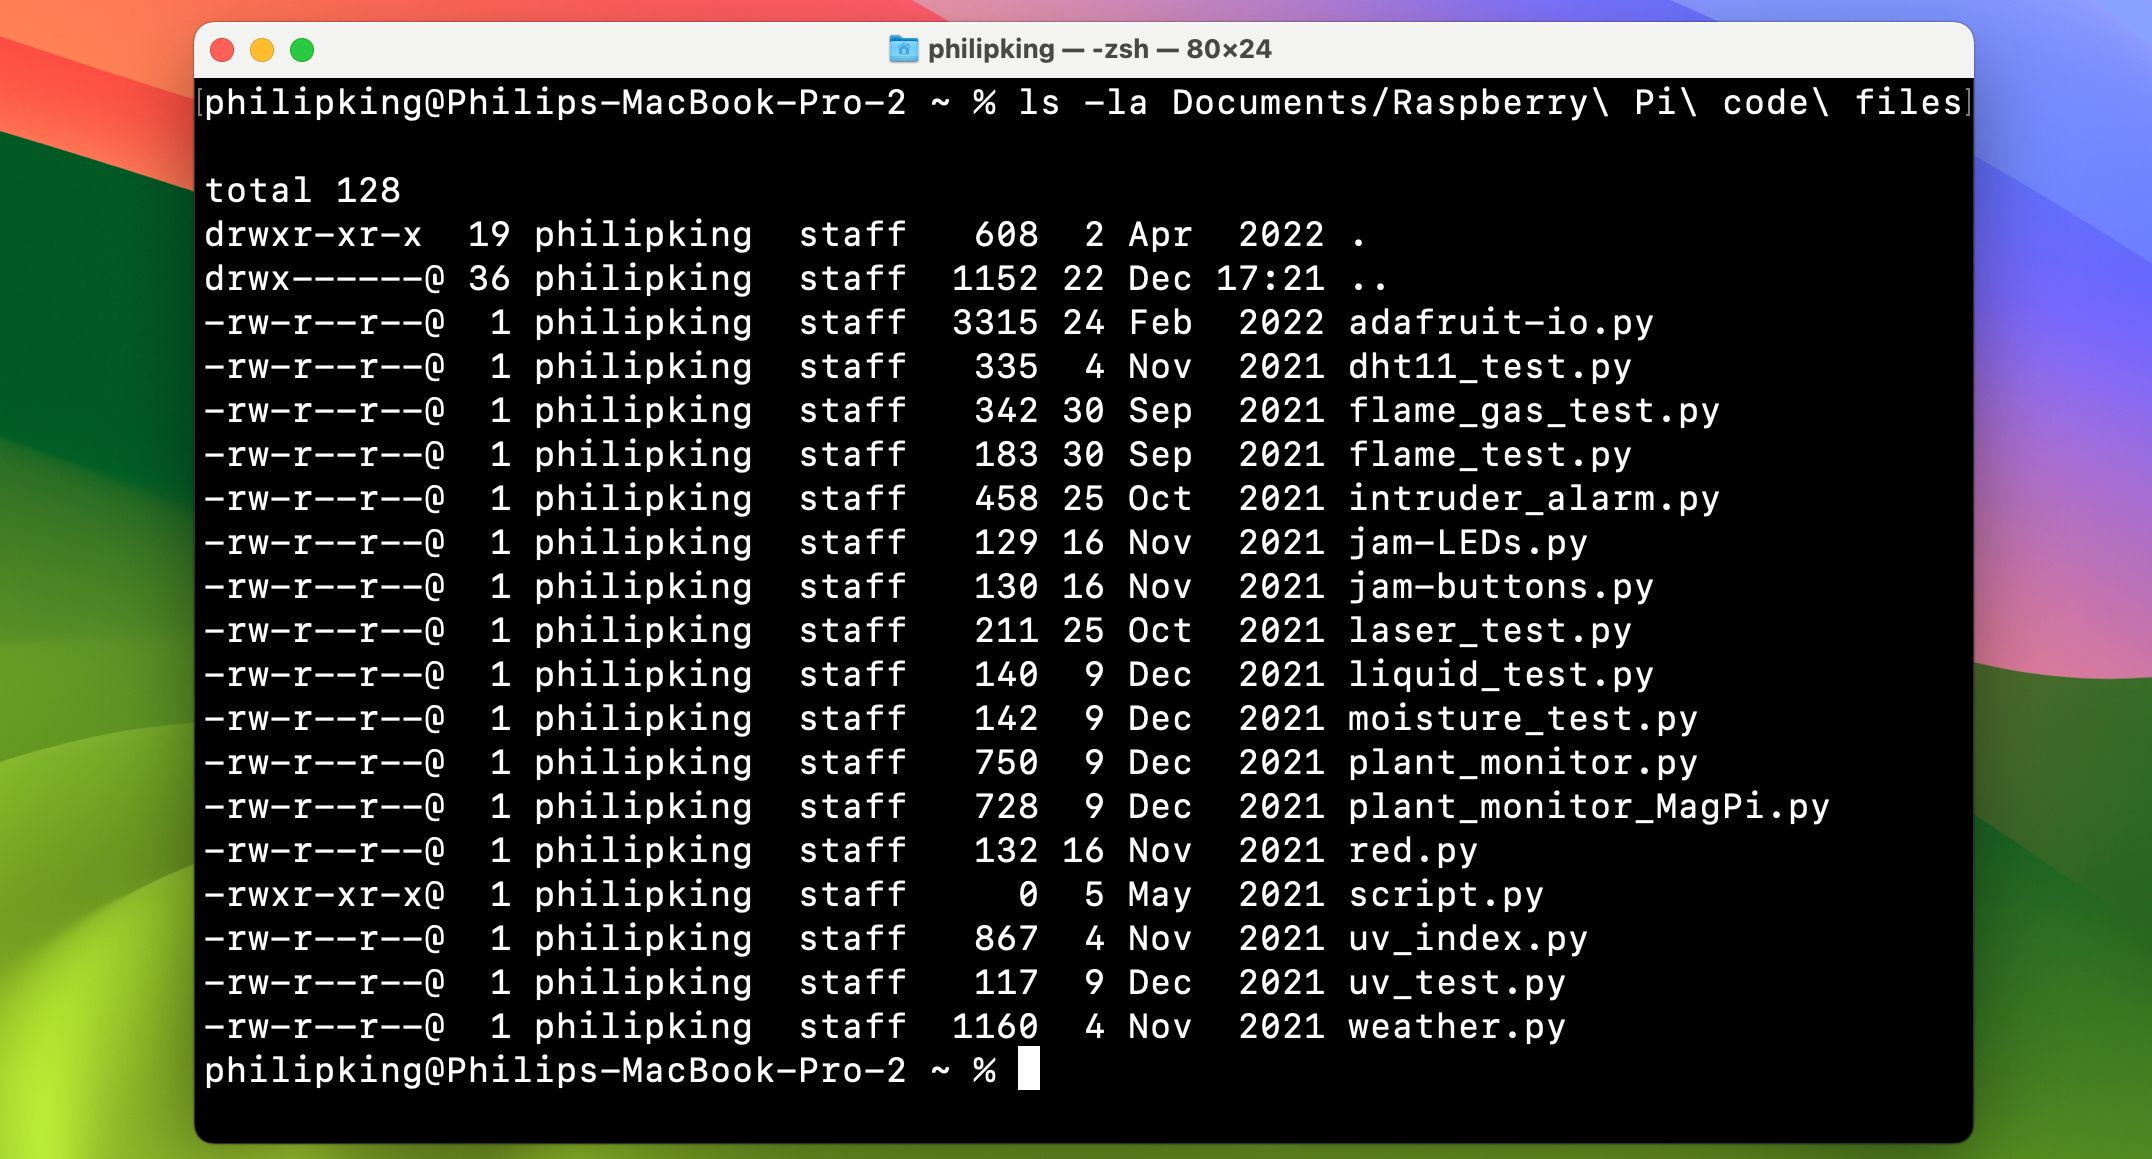
Why it is higher: It is sooner, can present data on a number of recordsdata without delay, and is extremely customizable. ls is an extremely highly effective command for displaying you precisely what’s in your folders. It additionally reveals who’s allowed to see them, if in case you have any hidden recordsdata or folders, and way more.
One of the best choices for ls are:
-l (lengthy): Exhibits the permissions for every file within the folder, the newest modification time, the file proprietor, and filename. -a (all): Exhibits you all of the recordsdata in a folder, together with the hidden recordsdata (nice for displaying the person library in macOS, which is hidden by default).
Here is what an instance output appears to be like like:
mkdir
Replaces: Finder > File > New Folder
Why it is higher: It is sooner, and you may set the identify proper within the command as a substitute of double-clicking the brand new folder. Create new folders straight away with this command.
For instance, the command:
mkdir /Customers/jdoe/Desktop/cool_stuff
…creates a brand new cool_stuff folder in Desktop.
rm
Replaces: Shifting recordsdata to the Trash and emptying it.
Why it is higher: It is sooner and good for deleting pesky recordsdata that the Trash will not do away with. This command will delete, instantly and with out prejudice, any file you place in its path. Clearly, use it with excessive warning. In contrast to clicking Empty Trash, rm is not going to ask should you’re certain. It assumes you already know what you are doing.
One factor to notice about rm is that by default, it can solely delete recordsdata, not folders. To delete folders, you will need to use the -R choice, which stands for “recursive”.
For instance, the command:
rm -R /Customers/jdoe/Desktop/cool_stuff
…will delete the cool_stuff folder in Desktop.
Now you already know some important Terminal instructions, you can begin integrating them into your every day Mac workflow. When you get comfy utilizing zsh, you’ll be able to transcend merely changing your on a regular basis duties and begin exploring powers that solely the command line can provide.
/cdn.vox-cdn.com/uploads/chorus_asset/file/25661290/Screenshot_2024_10_06_at_10.48.36_AM.png "Trailers of the week: Nosferatu, The Franchise, and Squid Game 2")


")


")

")


