

The Symfony is a free, full-stack PHP framework used for constructing net functions. It’s well-known for its self-contained elements that seamlessly combine into any PHP challenge. Symfony additionally helps a number of languages, together with JavaScript and Node.js.
Many open-source builders depend on Symfony for creating high-performance, advanced net functions. Moreover, Symfony gives a Command Line Interface (CLI) device that assists builders in varied duties comparable to database administration, code technology, and executing instructions.
Symfony Framework Options
Symfony gives quite a few fascinating options, which embrace:
Full performance database lessons
MVC (Mannequin View Controller) architectural sample
Code reusability
Modifiable URI routing
Seamless integration with third-party companies
Error logging
On this article, we are going to display the steps to put in and arrange the Symfony Framework on RHEL-based and Debian-based distributions.
Methods to Set up Symfony Framework in Linux
Earlier than putting in the Symfony framework on our system, we want a consumer with sudo or root privileges to put in PHP and the required PHP extensions as proven.
Set up PHP in Linux
—————- On RHEL-based Programs —————-
sudo dnf set up php-ctype php-iconv php-pcre php-session php-simplexml php-tokenizer
—————- On Debian-based Programs —————-
sudo apt set up php-ctype php-iconv php-pcre php-session php-simplexml php-tokenizer
Subsequent, confirm that PHP and the extensions are put in accurately.
php -v
PHP 8.2.16 (cli) (constructed: Feb 13 2024 15:22:59) (NTS gcc x86_64)
Copyright (c) The PHP Group
Zend Engine v4.2.16, Copyright (c) Zend Applied sciences
with Zend OPcache v8.2.16, Copyright (c), by Zend Applied sciences
The above command ought to show the PHP model put in in your system, together with details about the put in extensions.
Set up Composer in Linux
Putting in Composer for Symfony is important as Symfony depends on Composer as its dependency supervisor to simplifies the administration of PHP libraries and dependencies wanted by Symfony and its tasks.
php -r “copy(‘https://getcomposer.org/installer’, ‘composer-setup.php’);”
php -r “if (hash_file(‘sha384’, ‘composer-setup.php’) === ‘dac665fdc30fdd8ec78b38b9800061b4150413ff2e3b6f88543c636f7cd84f6db9189d43a81e5503cda447da73c7e5b6’) { echo ‘Installer verified’; } else { echo ‘Installer corrupt’; unlink(‘composer-setup.php’); } echo PHP_EOL;”
php composer-setup.php
php -r “unlink(‘composer-setup.php’);”
Set up Symfony Framework
Run the next wget or curl command to obtain and set up Symfony utilizing its automated set up script.
wget https://get.symfony.com/cli/installer -O – | bash
Or
curl -sS https://get.symfony.com/cli/installer | bash
Subsequent, execute the next instructions so as to add the Symfony path variable and apply the adjustments.
$ export PATH=”$HOME/.symfony5/bin:$PATH”
$ supply ~/.bashrc
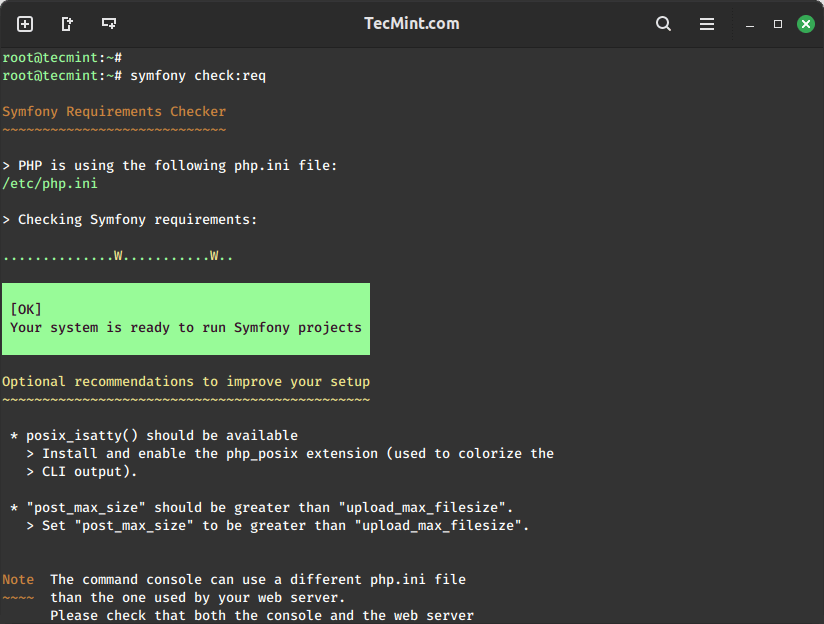
Lastly, confirm the system meets the necessities for operating Symfony functions by operating the next command, which is able to test varied features of the system, such because the put in PHP model, enabled PHP extensions, and different system configurations needed for Symfony to perform correctly.
symfony test:req
Now that our Symfony framework is put in and prepared for operating a Symfony challenge, we should set it as much as run a challenge.
Methods to Create Symfony Internet Functions in Linux
It’s thought of a great follow to configure Git earlier than establishing a brand new improvement surroundings or starting work on a brand new challenge.
We are able to use the next Git config instructions to configure our Git:
git config –global consumer.e-mail “email_address”
git config –global consumer.title “full_name”
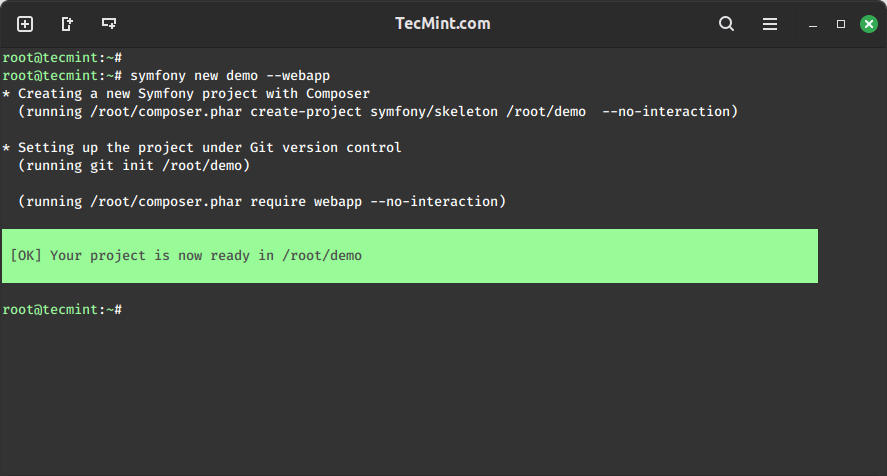
Now, we’ll execute the next command to create a brand new Symfony net software challenge.
symfony new demo –webapp
As soon as our challenge is prepared, we’ll navigate contained in the challenge listing (“demo”) and begin the Symfony server.
cd demo
symfony server:begin
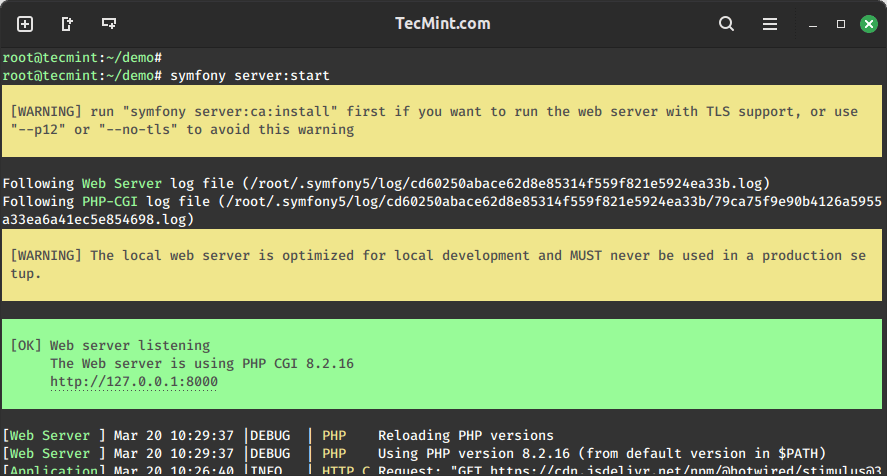
We are able to discover that our net server is listening at http://127.0.0.1:8000, indicating that we’ve efficiently created a brand new Symfony challenge.
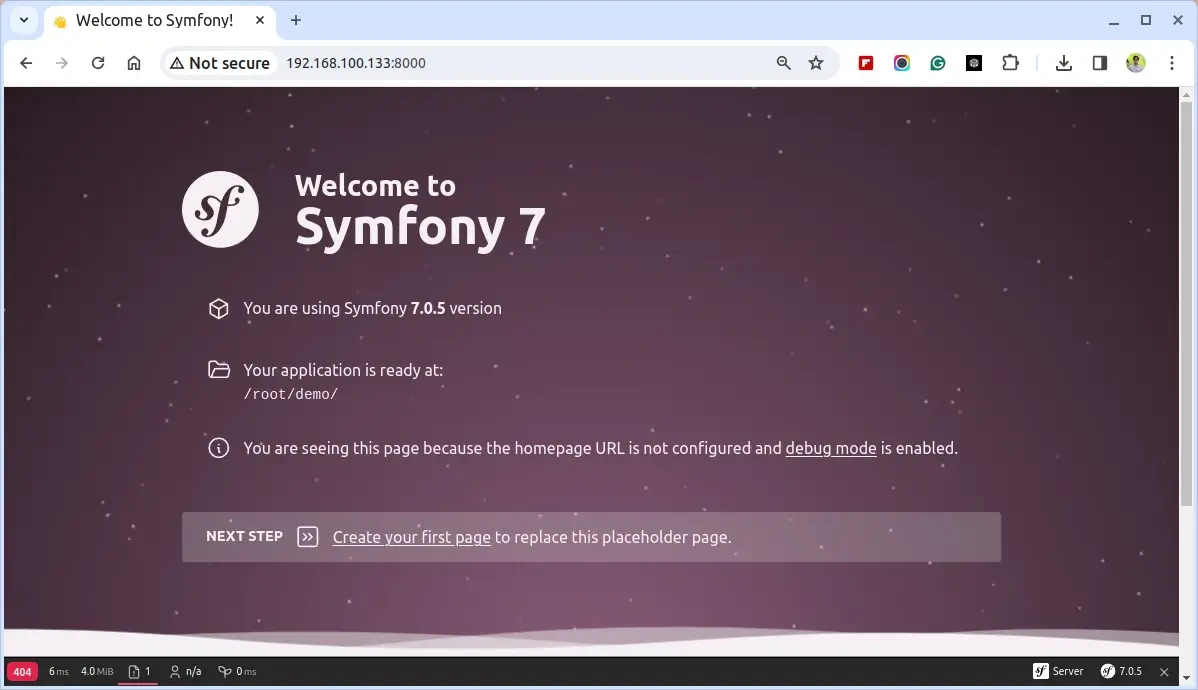
Thus, we are able to observe the Symfony Welcome web page efficiently. Moreover, from the above output, we additionally discover the tackle of our challenge, indicating that we are able to view any webpage situated in that challenge listing.
That concludes the method. Now you can start creating your first Symfony web page on this challenge listing utilizing its official documentation.


![[SOLVED] ShareFile for Outlook Has Fired an Exception Error](https://mspoweruser.com/wp-content/uploads/2024/07/sharefile-for-outlook-has-fired-an-exception.png "[SOLVED] ShareFile for Outlook Has Fired an Exception Error")

")


")

")


