

KVM virtualization expertise helps varied disk picture codecs. Two of the most well-liked and broadly used disk codecs are qcow2 and uncooked disk photos.
The previous, qcow2, is taken into account essentially the most versatile and feature-rich digital disk format offering a helpful set of options corresponding to 128-bit AES encryption, assist for a number of snapshots, and zlib compression to say just a few.
Typically, you could wish to lengthen or resize the disk area of a KVM digital machine to accommodate extra information or create different partitions.
On this article, we’re going to see how one can lengthen or improve KVM Digital Machine disk dimension utilizing the qcow2 disk format.
Step 1: Shutdown KVM Digital Machine
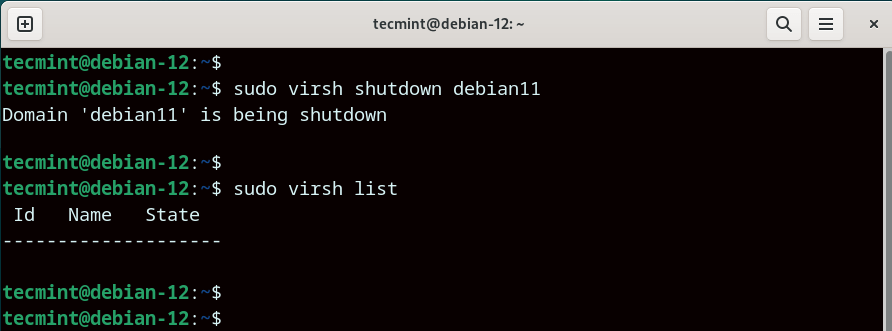
Step one is to make sure that the VM whose disk dimension you wish to broaden is powered off. To record all of the working digital machines, run the command:
$ sudo virsh record
In our setup, we have now a single digital machine that runs on Debian 11 with the area identify debian11.
To close down the VM, use the next syntax:
$ sudo virsh shutdown domain_name
On this case, the command will likely be:
$ sudo virsh shutdown debian11
Now, to verify that the VM has been powered off, as soon as once more, record working VMs. This time round, the VM area identify won’t be listed.
$ sudo virsh record
Step 2: Discover KVM Digital Machine Disk Picture File Path
The subsequent step is to find out the trail of the digital machine disk path.
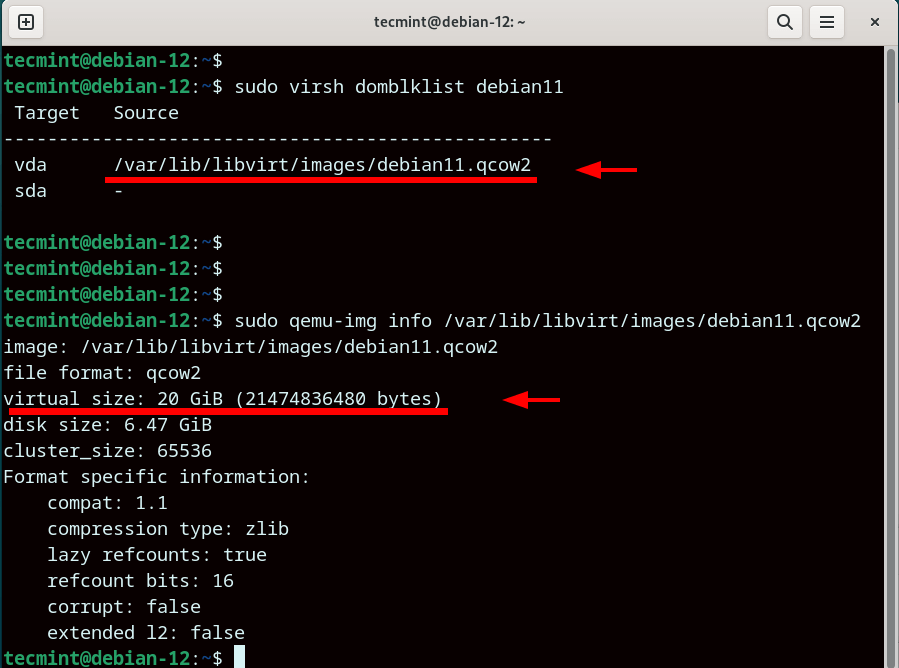
$ sudo virsh domblklist debian11
From the output, we see that the digital disk path is /var/lib/libvirt/photos/debian11.qcow2. Utilizing the disk path, you may retrieve extra details about the digital disk picture such because the digital dimension as proven.
$ sudo qemu-img data /var/lib/libvirt/photos/debian11.qcow2
From the output, you may see that we’re beginning out with an preliminary digital disk dimension of 20G. We’ll later broaden this to 40G.
Step 3: Prolong KVM Digital Machine Disk Measurement
The subsequent step is to increase the digital machine disk dimension. In our case, we are going to broaden the scale two-fold by including one other 20G utilizing the command proven under.
$ sudo qemu-img resize /var/lib/libvirt/photos/debian11.qcow2 +20G

Observe: You might want to delete any snapshots associated to the digital machine earlier than continuing additional. You possibly can record the snapshots related to the area identify as proven:
$ sudo virsh snapshot-list debian11
Suppose we have now a snapshot referred to as mysnapshot. To delete the snapshot, we are going to run the command:
$ sudo virsh snapshot-delete –domain debian11 –snapshotname mysnapshot
Step 4: Begin KVM Digital Machine
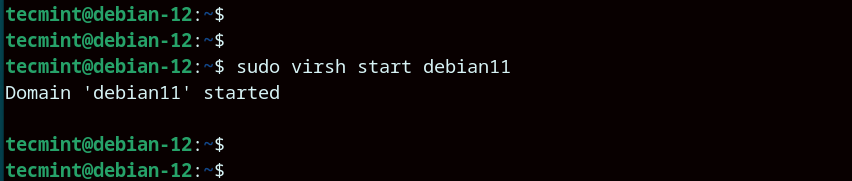
After getting prolonged the digital machine, proceed and begin the digital machine as proven.
$ sudo virsh begin debian11
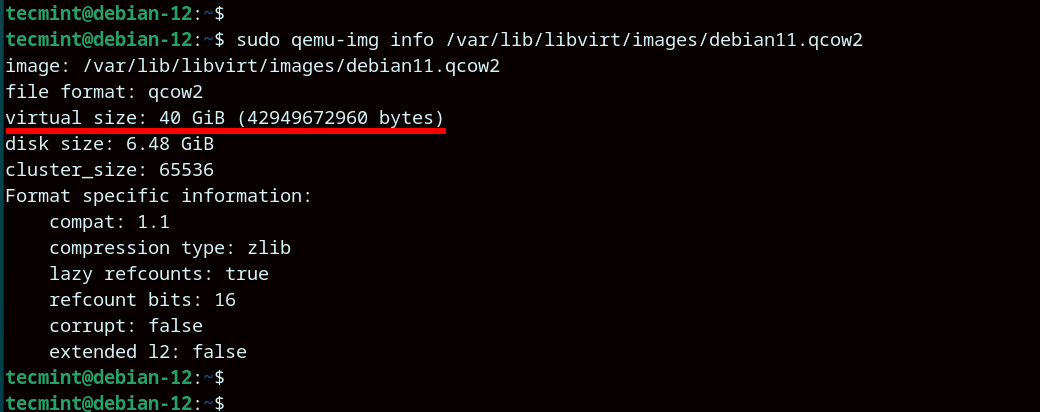
To verify that your disk dimension has now been prolonged, run the command:
$ sudo qemu-img data /var/lib/libvirt/photos/debian11.qcow2
From the output, the digital disk dimension is now 40GB, an increment of 20G from its unique disk dimension.
Alternatively, you may log in to your VM and examine the disk dimension utilizing the lsblk command.
$ lsblk

Conclusion
On this article, we have now demonstrated learn how to lengthen the scale of a KVM digital machine disk dimension. Rising the scale of your VM disk can come in useful whenever you wish to create additional partitions or improve the scale of present disk partitions.


![[SOLVED] ShareFile for Outlook Has Fired an Exception Error](https://mspoweruser.com/wp-content/uploads/2024/07/sharefile-for-outlook-has-fired-an-exception.png "[SOLVED] ShareFile for Outlook Has Fired an Exception Error")


 | Mobile Dev Memo by Eric Seufert")


")

")


/cdn.vox-cdn.com/uploads/chorus_asset/file/25661290/Screenshot_2024_10_06_at_10.48.36_AM.png "Trailers of the week: Nosferatu, The Franchise, and Squid Game 2")

