

Etherpad Lite is a web-based, free doc modifying instrument that permits teams of customers to collaboratively work on a doc in real-time, much like a multiplayer editor that runs in an online browser.
Etherpad permits authors to edit concurrently, seeing one another’s edits in real-time, with the aptitude to show every writer’s textual content in their very own colours.
Etherpad Key Options
A number of customers can edit a doc concurrently whereas viewing adjustments in real-time.
A chat field within the sidebar permits authors to speak whereas modifying, enhancing collaboration.
It’s constructed with JavaScript on each the server and consumer sides, making it simple for builders to take care of and add new options.
A well-documented HTTP API offers entry to all information, making it simple to combine it into different purposes.
It helps importing and exporting paperwork in varied codecs (HTML, Open Doc, Microsoft Phrase, PDF, and plain textual content) and gives translations to accommodate native languages.
The “time slider” function lets customers discover the historical past of doc revisions.
On your reference, you may try a demo of Etherpad Lite on the hyperlink: Watch EtherPad Demo
On this tutorial, we’ll stroll by the set up and configuration of Etherpad Lite on RHEL-based and Debian-based distributions.
Step 1: Set up Libraries and Improvement Packages
First, we have to set up just a few required libraries and growth instruments by working the next instructions, both as root or by including sudo in the beginning of every command.
On RHEL-based distributions:
sudo yum set up gzip git curl python3 openssl-devel && yum groupinstall “Improvement Instruments”
On Debian-based distributions:
sudo apt set up gzip git curl python3 libssl-dev pkg-config build-essential
Step 2: Set up Node.js
You want to obtain and set up the newest secure model of Node.js by working the next instructions.
curl -o- https://uncooked.githubusercontent.com/nvm-sh/nvm/v0.40.0/set up.sh | bash
nvm set up 23
node -v
npm -v
Step 3: Obtain and Set up Etherpad Lite
Create a separate consumer known as “etherpad” to run the Etherpad utility independently.
sudo useradd –create-home etherpad
Change to the “etherpad” consumer and obtain the newest secure model of Etherpad Lite utilizing the Git repository.
su – etherpad
cd /house/etherpad
git clone https://github.com/ether/etherpad-lite.git
Change to the Etherpad Lite listing and execute the run.sh script:
cd etherpad-lite/bin
./run.sh
You must see output indicating that Etherpad is working and accessible at http://0.0.0.0:9001/.
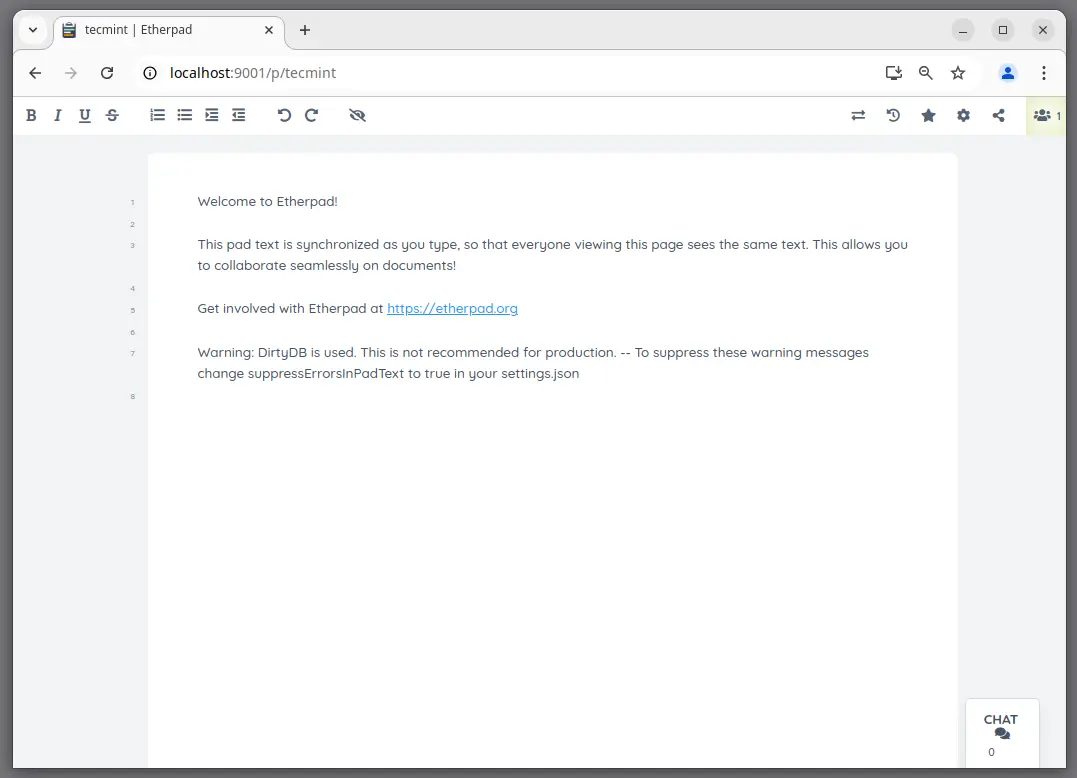
Step 4: Entry and Create New Pads in Etherpad Lite
Open your net browser and navigate to http://localhost:9001 or http://your-ip-address:9001.
To create a brand new doc, enter a reputation for the Pad. As an example, making a Pad named “tecmint” provides you with the URL http://your-ip-address:9001/p/tecmint. You’ll be able to share this URL with collaborators, they usually can be part of the modifying session in real-time.
Step 5: Utilizing Etherpad Lite with MySQL Backend
By default, Etherpad shops paperwork in a flat-file database. For higher efficiency, it is strongly recommended to make use of MySQL as a backend.
On RHEL-based methods:
sudo yum set up mysql-server
sudo systemctl begin mysqld
sudo systemctl allow mysqld
On Debian-based methods:
sudo apt set up mysql-server
sudo systemctl begin mysql
sudo systemctl allow mysql
Connect with the MySQL shell and create the Etherpad database:
mysql -u root -p
CREATE USER ‘etherpad’@’localhost’ IDENTIFIED BY ‘your_password’;
GRANT ALL PRIVILEGES ON etherpad_lite.* TO ‘etherpad’@’localhost’;
FLUSH PRIVILEGES;
EXIT;
Change again to the “etherpad” consumer and modify the settings.json file:
su – etherpad
cd /house/etherpad/etherpad-lite
cp settings.json.template settings.json
nano settings.json
Replace the database configuration:
“dbType”: “mysql”,
“dbSettings”: {
“consumer”: “etherpad”,
“host”: “localhost”,
“password”: “your-password”,
“database”: “etherpad_lite”
},
Now set up dependencies and run Etherpad once more to initialize the MySQL backend:
./bin/installDeps.sh
./bin/run.sh
Lastly, understand that the Etherpad utility will terminate its course of once you shut the terminal session. You should utilize the systemd service to handle the Etherpad utility extra simply, together with beginning, stopping, and enabling it to run at boot.
Step 6: Create Etherpad Systemd Service File
Now login as a daily sudo consumer and create a brand new service file within the systemd listing:
sudo nano /and many others/systemd/system/etherpad.service
Add the next content material to the service file:
[Unit]
Description=Etherpad Lite
After=community.goal
[Service]
Kind=easy
Person=etherpad
WorkingDirectory=/house/etherpad/etherpad-lite
ExecStart=/usr/bin/node /house/etherpad/etherpad-lite/node/node server.js
Restart=on-failure
[Install]
WantedBy=multi-user.goal
Be certain that to regulate the ExecStart path in case your Node.js set up is in a distinct location.
After creating the service file, you should reload systemd to acknowledge the brand new service:
sudo systemctl daemon-reload
Now you can begin the Etherpad service and allow it to start out on boot:
sudo systemctl begin etherpad
sudo systemctl allow etherpad
sudo systemctl standing etherpad
If every little thing is configured appropriately, you may entry Etherpad by navigating to http://your-ip-address:9001 in your net browser.
Conclusion
You’ve efficiently put in and configured Etherpad Lite to make use of MySQL because the backend database. There’s rather more to discover and improve in your Etherpad set up, comparable to configuring safe entry over HTTPS/SSL.
For extra info on additional configurations, go to the official Etherpad Lite wiki.


")
")


")

