

What if I let you know you’ll be able to carry a whole Ubuntu system in a detachable disk drive?
Putting in Ubuntu on an exterior USB is an advanced course of. The easier possibility is to make a dwell USB however with persistent storage that may save all of the modifications you make to it.
And belief me; the method is just like utilizing BalenaEtcher or any flashing instrument to make a bootable drive.
However earlier than that, let’s take a look at what persistent dwell USB means.
What’s a persistent dwell USB?
Once you use a dwell Linux USB, any modifications you made within the dwell session are misplaced. In the event you boot from it once more, you may have to connect with WiFi once more, your downloaded information and put in apps will not be there. A persistent dwell USB will save all these modifications.
This fashion, you’ll be able to hold utilizing that USB drive as an exterior working system that saves all of the modifications you’ve got made like making a consumer account, putting in packages, and all types of issues that you just typically do with a standard laptop.
In fact, the variety of information would depend upon the dimensions of the disk you employ!
However you bought the purpose. Proper? Let’s have a look at about making a dwell Ubuntu USB with persistence.
The way to create a persistent Ubuntu drive
On this tutorial, I’ll stroll you thru the method of making a persistent Ubuntu USB:
On Home windows utilizing Rufus toolOn Linux utilizing mkusb instrument
You’ll be able to comply with the suitable part of the tutorial.
📋
Within the tutorials, you may be making a persistent USB of Ubuntu. Not all Linux distros help persistence and therefore the tactic might or might not work for creating persistent USB of different distributions.
Methodology 1: Create a persistent Ubuntu drive on Home windows
To create a persistent Ubuntu drive on Home windows, I shall be utilizing Rufus, a free and open-source instrument to flash ISO information on USB drives.
Go to the official obtain web page of Rufus to get the executable file for Home windows:
Now, open the Rufus and it’ll ask you to run as an administrator; grant the permissions as you are about to make modifications within the exterior drive and permissions are vital for that.
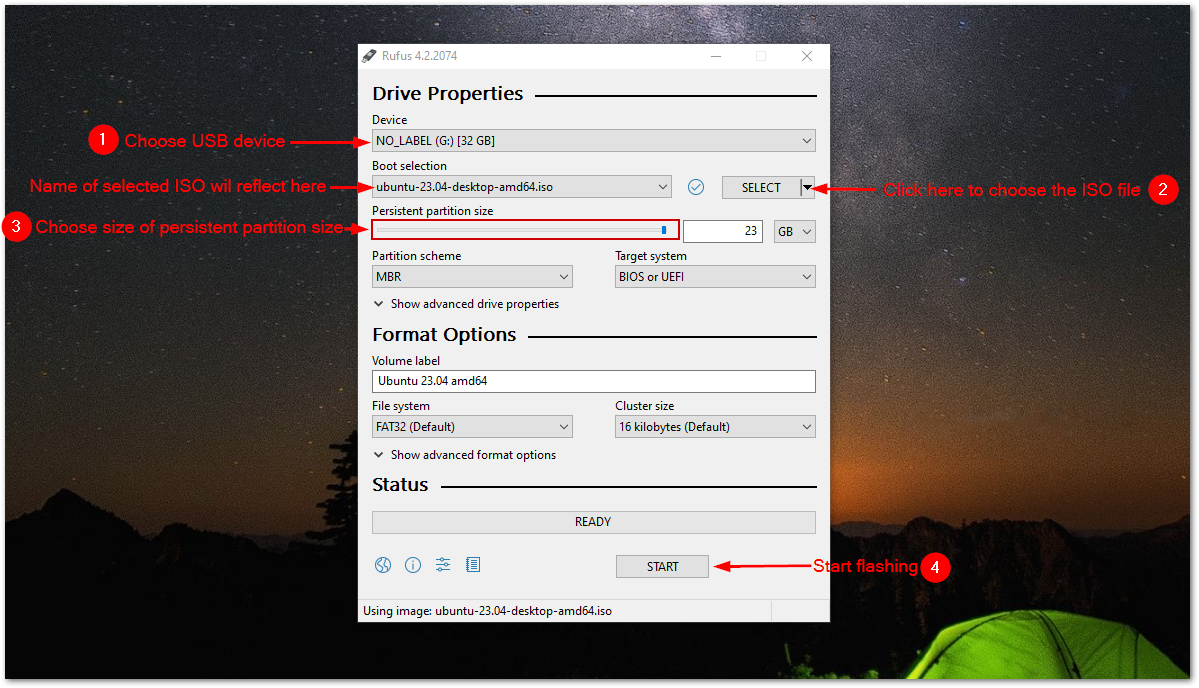
Subsequent, comply with the given steps to make use of Rufus to make a persistent USB drive:
Choose the USB system (if there’s just one USB stick, it will likely be chosen by default).Hit the Choose button to pick out the ISO file from the file supervisor.You’ll be able to both use the slider or specify the dimensions of the persistent drive straight (you’ll be able to go to the max, no worries).Depart the opposite choices to default (until you understand what you’re as much as).Hit the Begin button to begin the flashing.
It is going to present you warnings that the information on the chosen drive shall be eliminated, so you’ll be able to simply ignore them.
As soon as completed, let’s take a look at how one can straight boot to the UEFI settings in Home windows.
Boot from the USB drive (the straightforward approach)
This technique ought to work for many customers and if not, you’ll be able to at all times use the standard approach by rebooting the system and urgent Esc, Delete, F1, F2, F10, F11, or F12 keys.
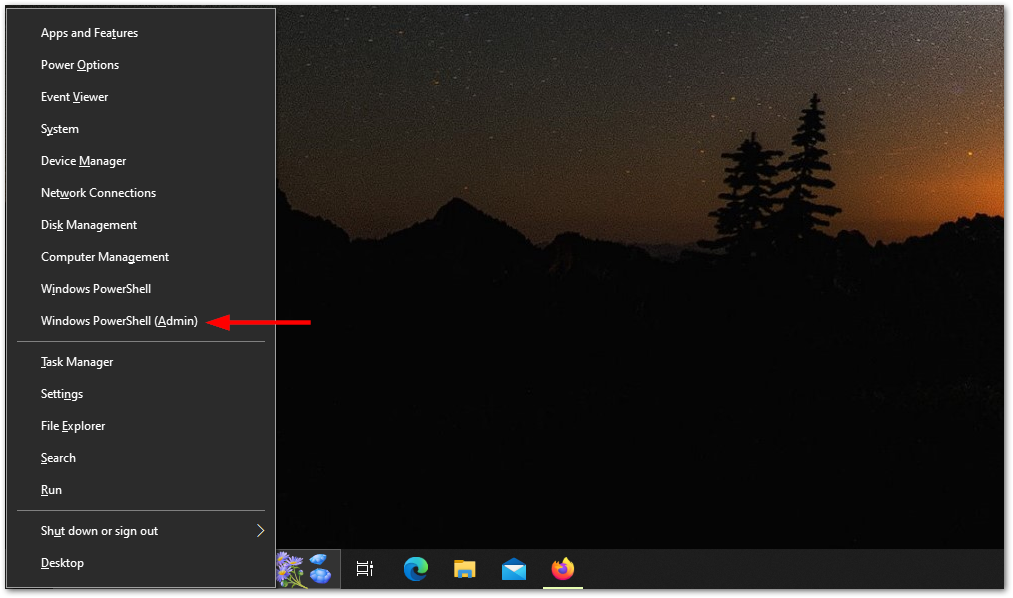
To comply with the straightforward technique, press Win + X and begin Home windows PowerShell as an admin:
When you see the immediate, merely execute the next command:
shutdown.exe /r /fw
It is going to schedule the shutdown and in a second, you may be booted into the UEFI firmware setup.
From there, select the USB as a primary choice as well from and save modifications:

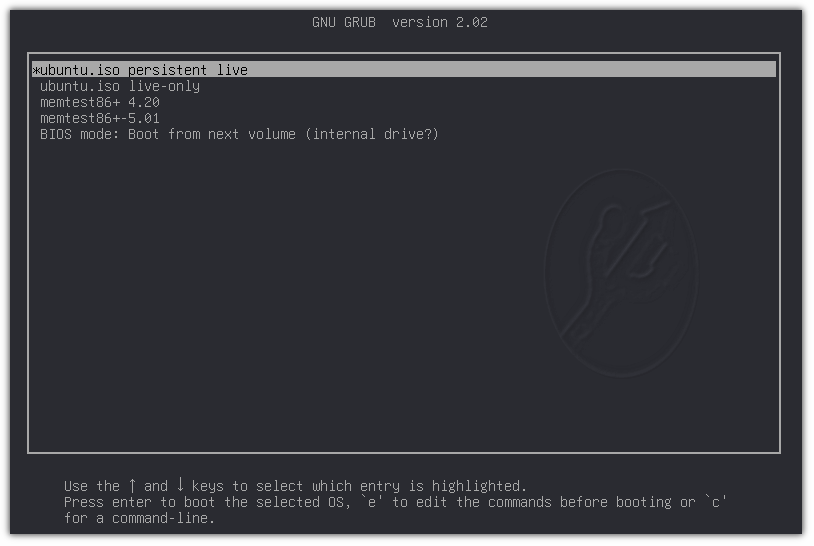
You will notice a standard grub display:
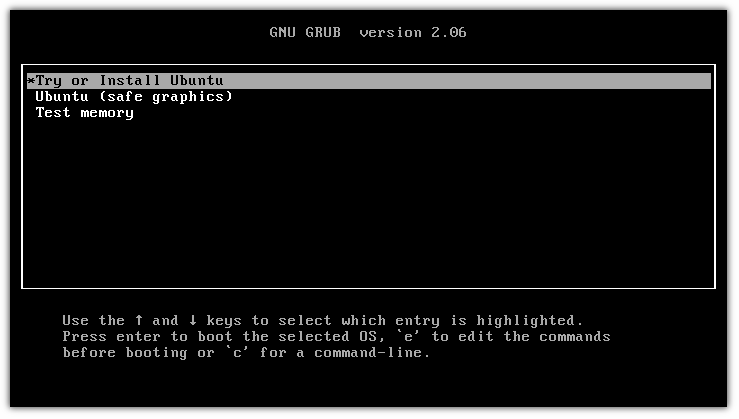
When you boot, choose the choice to check Ubuntu and from there it can save you modifications and so they will not be eliminated even in case you reboot the system.
Methodology 2: Create a persistent Ubuntu drive on Ubuntu Linux
🚧
This technique will probably solely work with Ubuntu and Debian ISO.
For individuals who do not know, mkusb is a GUI instrument that permits you to flash ISO on a disk drive however with further options like making a persistent drive on Ubuntu.
And for the set up, it’s important to add mkusb PPA utilizing the next:
sudo add-apt-repository ppa:mkusb/ppa
To take impact from the modifications, replace the repository index:
sudo apt replace
Lastly, set up mkusb and different packages:
sudo apt set up –install-recommends mkusb mkusb-nox usb-pack-efi
That is it!
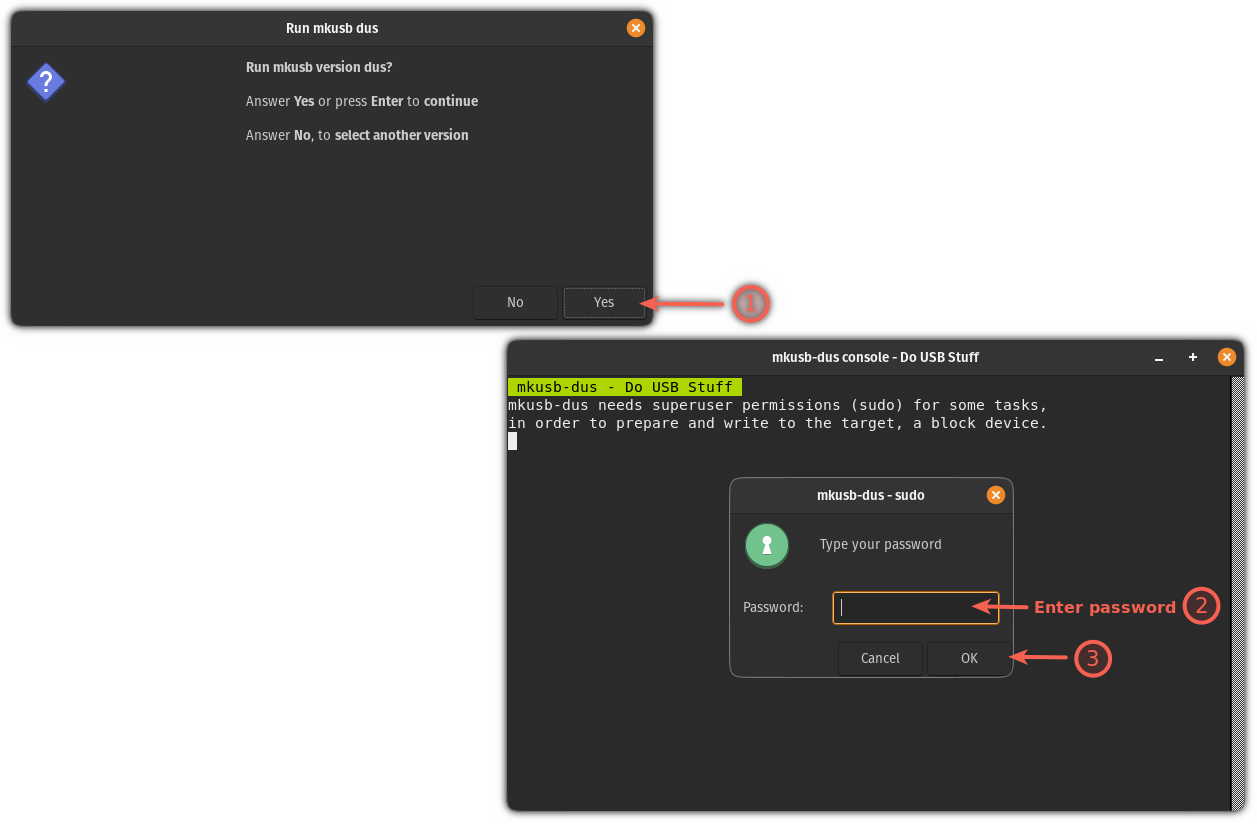
First, begin what mkusb instrument from the system menu. It is going to ask you to enter your superuser password:
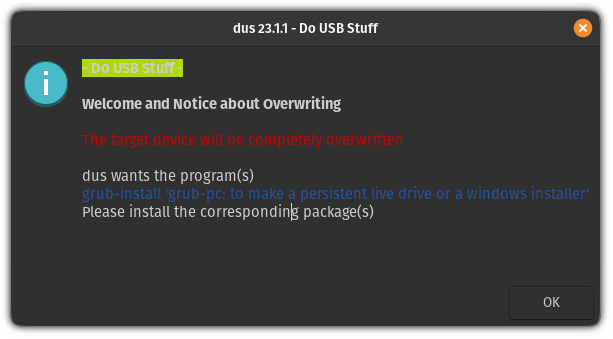
As soon as completed, it should present you the warning of all the information within the drive shall be wiped with the brand new information.
Merely, press the OK button:
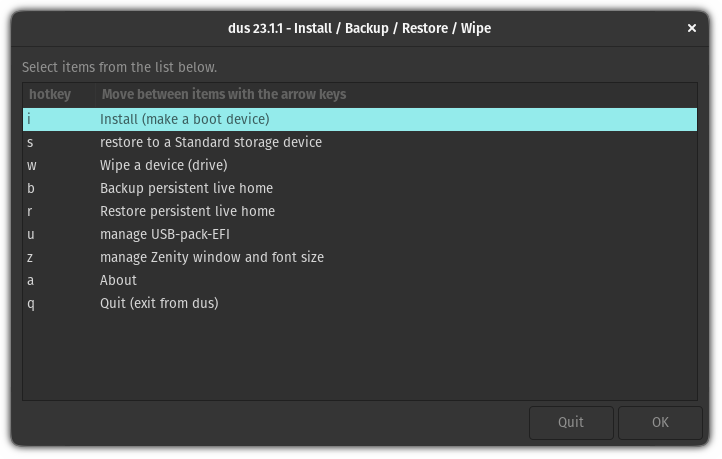
And it’ll present you a number of actions that may be carried out with the mkusb instrument. From which, it’s important to choose the primary possibility “Set up (make a boot system)”:
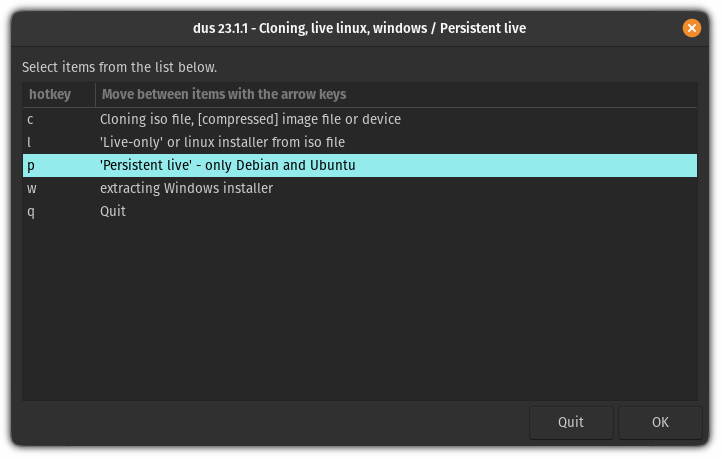
After that, it should present you a number of choices for the set up. From there, you choose the third possibility ‘Persistent dwell’ – solely Debian and Ubuntu:
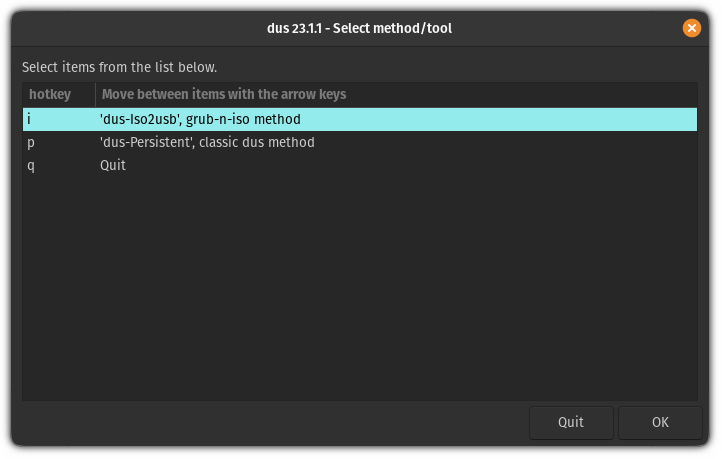
Within the subsequent step, it should ask you to decide on between a number of strategies.
And until you are utilizing one thing particular like a particularly stripped-down model, go along with the primary technique named dus-Iso2usb:
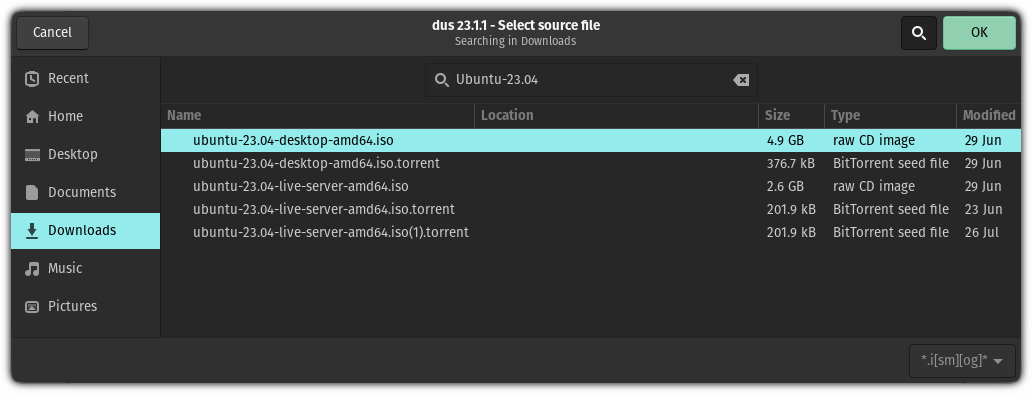
Subsequent, it should ask you to pick out the ISO file from the file supervisor:
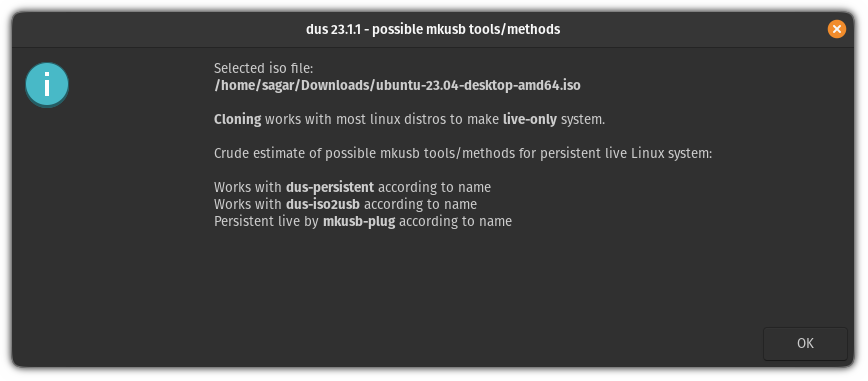
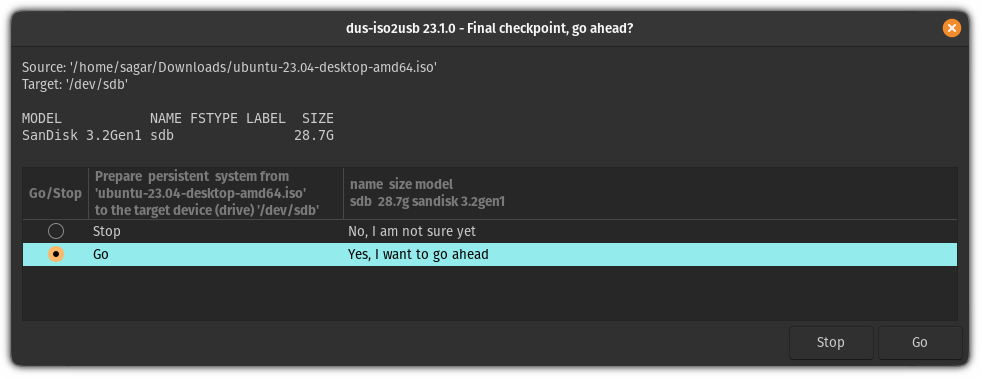
It is going to present you the title of the chosen ISO file together with what instruments it will likely be utilizing to create a persistent USB drive:
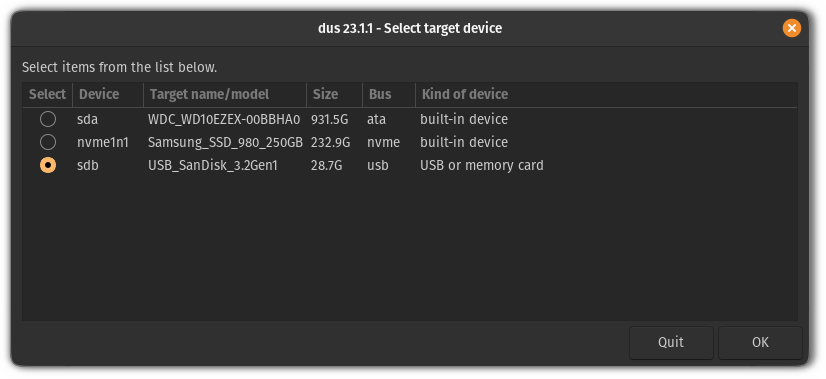
Subsequent, it’s important to choose the drive that must be flashed with the beforehand chosen ISO file:
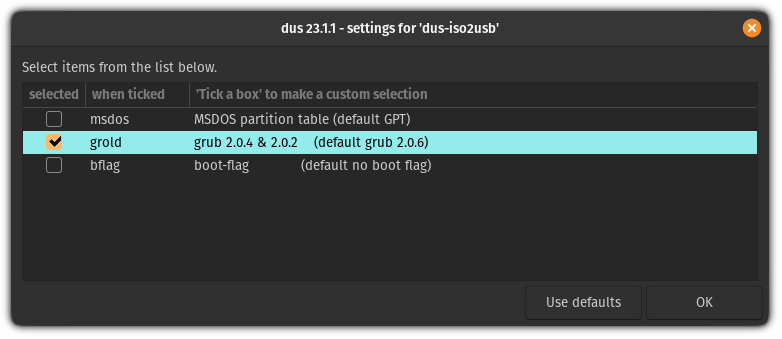
As soon as completed, you’ll be given 3 selections. If you do not know which one to make use of, then press the Use defaults button however for many customers, going with the 2nd possibility grold will get the job completed (I am going with the identical):
After every part is right, select Go possibility to begin the flashing course of:
And it’ll begin the flashing course of!
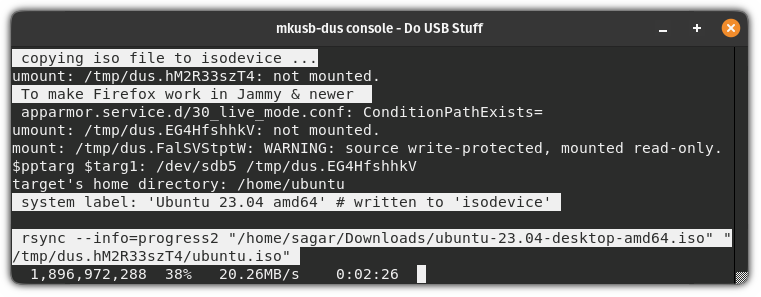
Bear in mind, it should take longer in comparison with the same old flashing that you just do utilizing BalenaEtcher!
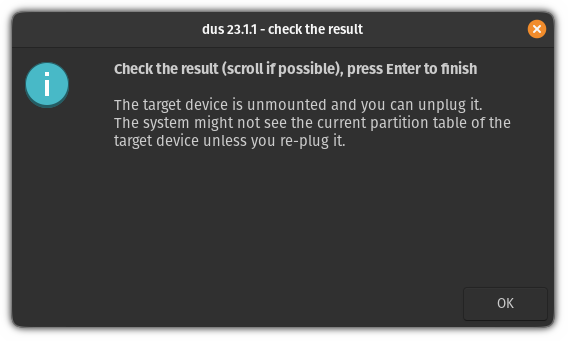
As soon as completed, you may be notified that the method has been accomplished and you’ll unplug and re-plug the drive to see modifications:
Boot from persistent USB drive
As well from the USB drive, you’ll be able to reboot your system, press the respective key a number of occasions, and get there however NO!
That is a decade-old technique.
There is a easy strategy to entry BIOS in Linux the place all it’s important to do is execute the next command in your terminal:
systemctl reboot –firmware-setup
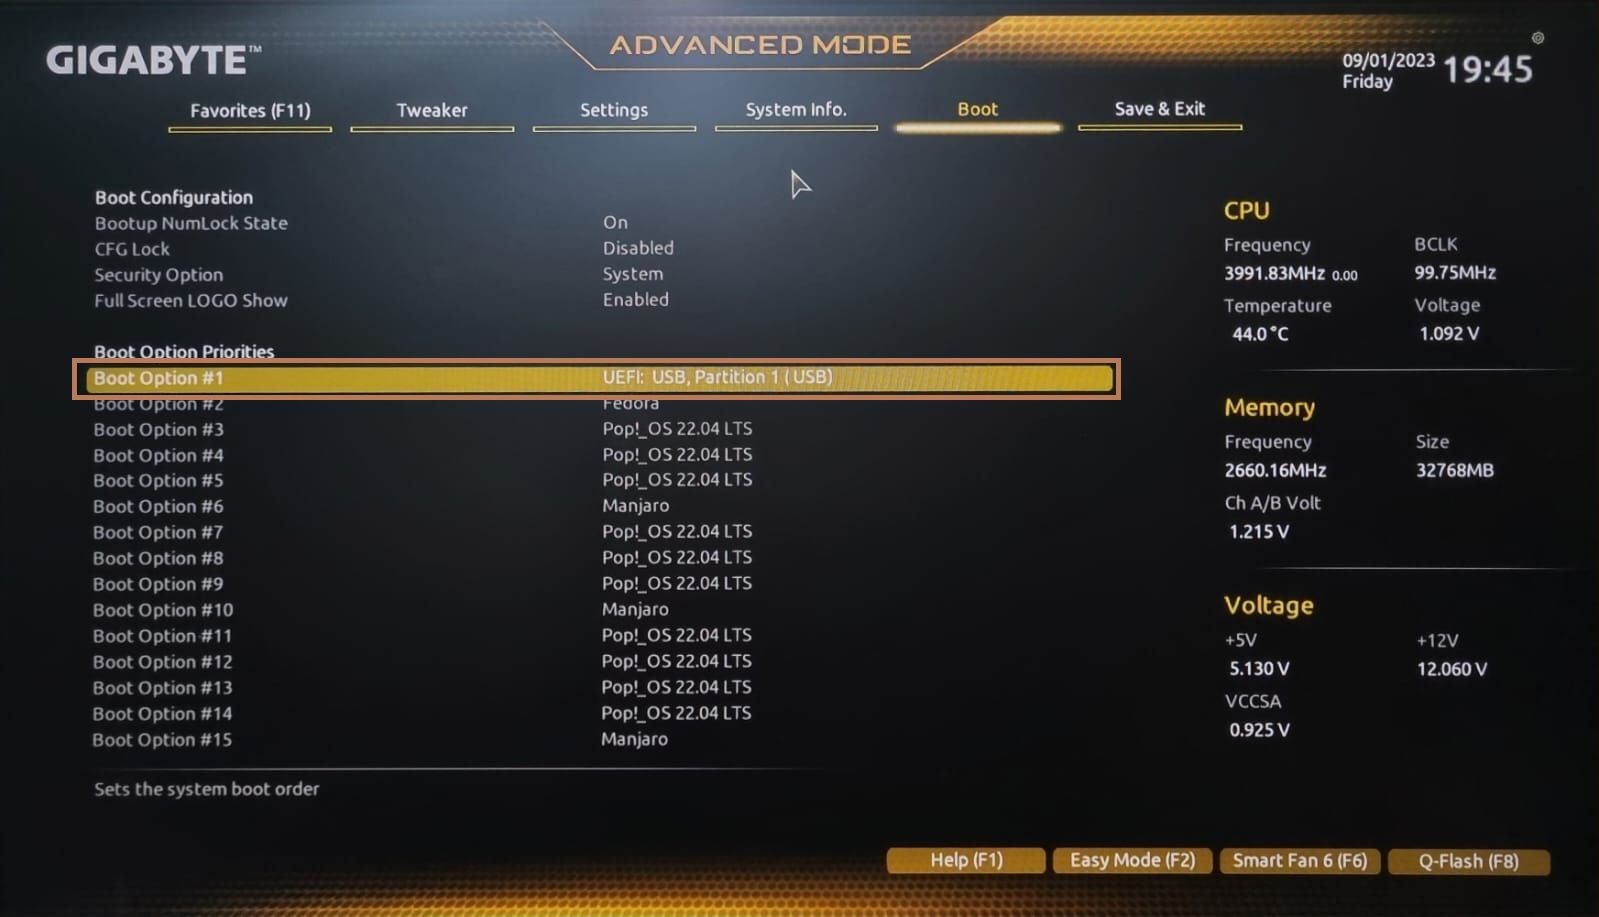
Right here, go to the Boot menu and choose the USB drive as a primary precedence as well from:
When you boot from the USB, you may have two choices:
ISO with endured modeBooting from dwell mode
Because the title suggests, you go along with the primary choice to boot into the Ubuntu endured mode:
And now, you may make modifications like putting in your favourite packages, creating a brand new consumer, and much more!
Carry a number of ISOs in a single drive!
Do you know you can carry a number of ISOs in a single drive and people ISOs could possibly be any Linux distro or perhaps a Home windows ISO file? Ventoy is an superior instrument for that.
Set up and Use Ventoy on Ubuntu [Complete Guide]
Bored with flashing USB drives for each ISO? Get began with Ventoy and get the flexibility to simply boot from ISOs.

The way to Set up A number of Reside Linux Distros on One USB
This tutorial exhibits the steps you’ll be able to take to create a dwell USB stick that permits you to boot into greater than Linux distributions with no need to re-image the drive.

I hope you can find this information useful.


")


