

FreeBSD is a free Unix-like working system developed by the Berkeley Software program Distribution. It’s obtainable for all main platforms, together with x86_64, IA-32, PowerPC, ARM, and many others., and primarily emphasizes options, pace, and efficiency stability.
FreeBSD is utilized by many top-level IT firms corresponding to Juniper Networks, NetApp, Nokia, IBM, and many others. It’s obtainable for server platforms with a command-line interface solely, however customers also can set up any Linux desktop surroundings corresponding to Xfce, KDE, GNOME, and many others., to create a extra user-friendly distribution.
My Surroundings Setup
IP Handle : 192.168.0.142
Hostname : freebsd.tecmintlocal.com
Exhausting Disk : 16GB
Reminiscence : 2GB
This text will information you thru transient directions on putting in FreeBSD 14.0 and configuring community interfaces (setting static IP addresses) utilizing a text-based set up utility named bsdinstall underneath i386 and AMD64 architectures.
Set up of FreeBSD 14.0
1. First go to the official FreeBSD website, and obtain the FreeBSD installer in your structure, the installer is available in quite a lot of completely different codecs together with CD, DVD, Community Set up, USB photographs, in addition to Digital Machine photographs.
2. After downloading the FreeBSD installer picture, burn it to the media (CD/DVD or USB), and boot the system with inserted media. After the system boots with the set up media, the next menu can be displayed.
3. By default, the menu will look ahead to 10 seconds for consumer enter earlier than it boots into the FreeBSD installer or we are able to press the ‘Backspace‘ key to proceed the set up, after which press the ‘Enter‘ key as well into FreeBSD.
As soon as the boot is full, a welcome menu is displayed with the next choices.
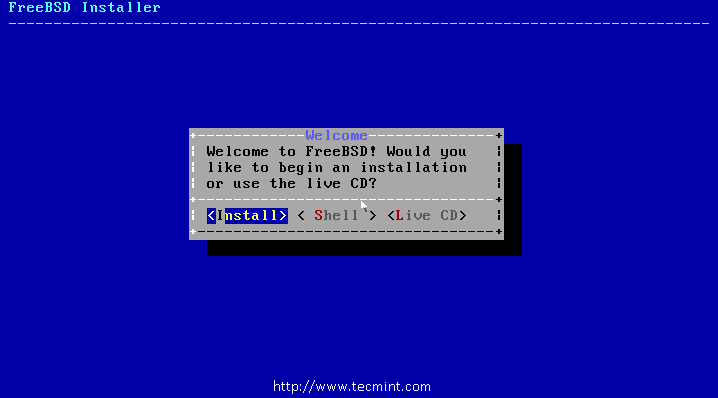
Press Enter to decide on the default possibility ‘Set up‘, or you’ll be able to select ‘Shell‘ to entry command-line packages to arrange the disks earlier than set up or choose the ‘Dwell CD‘ choice to check out FreeBSD earlier than putting in it. However, right here we going to make use of the default possibility ‘Set up‘ as we’re putting in FreeBSD.
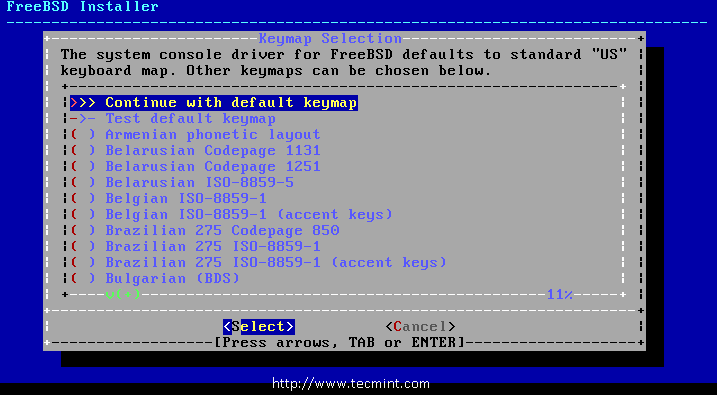
4. Subsequent, an inventory of keymaps is proven, with the default collection of Keymap, simply select the default choice to proceed with the keymap setup.
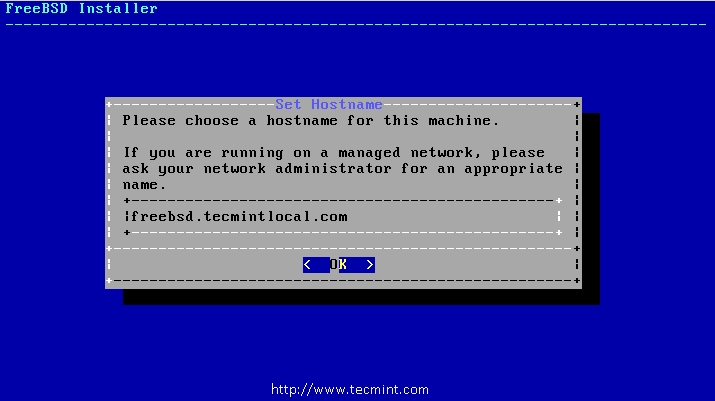
5. Subsequent, give a hostname for our system, I’ve used freebsd.tecmintlocal.com as my hostname.
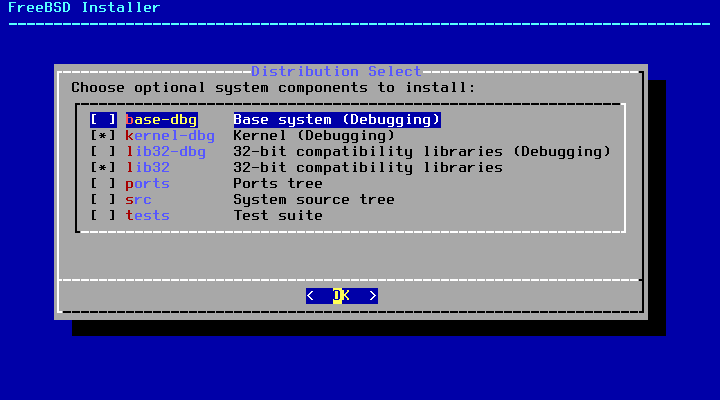
6. Select the parts to put in for FreeBSD, by default each possibility is preselected.
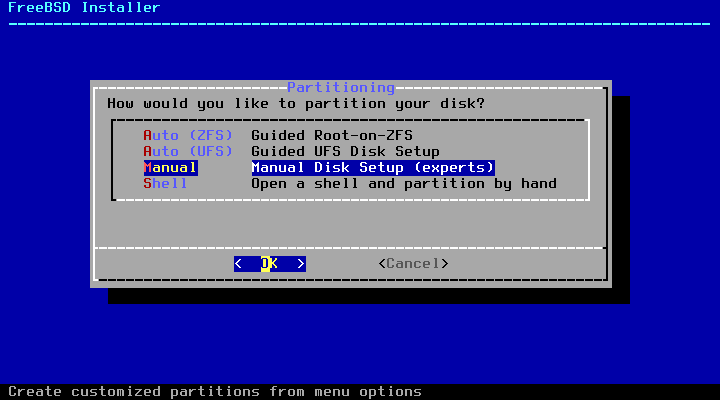
7. On this step, we have to partition the Disk for our set up. Right here you should have 4 choices:
Auto (ZFS) – This selection routinely creates an encrypted root-on-ZFS system utilizing the ZFS file system with help for boot environments.
Auto (UFS) – This selection routinely creates disk partitions utilizing the ZFS file system.
Guide – This selection permits superior customers to create custom-made partitions from menu choices.
Shell – This selection permits customers to create custom-made partitions utilizing command-line instruments corresponding to fdisk, gpart, and many others.
However, right here we going to decide on the ‘Guide‘ choice to create partitions as per our wants.
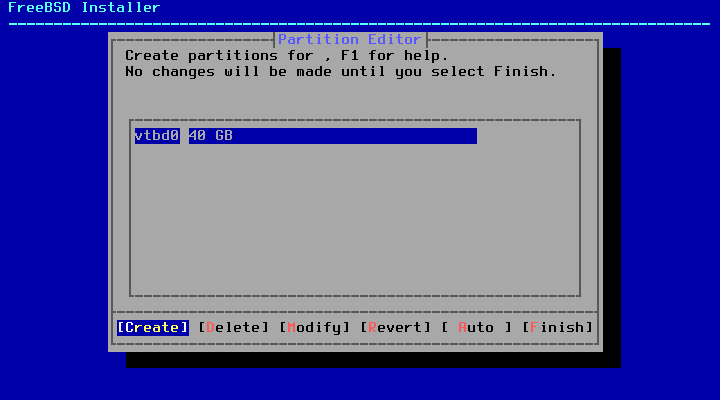
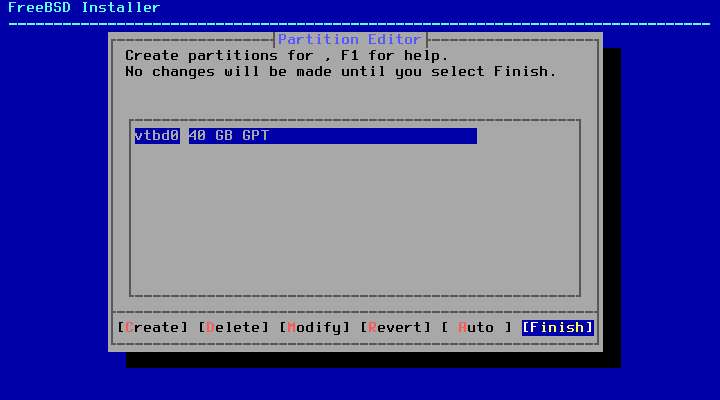
8. After deciding on ‘Guide Partitioning‘, a partition editor opens with highlighted drive ‘vtbd0‘ and chooses to Create for Creating a sound partition scheme.
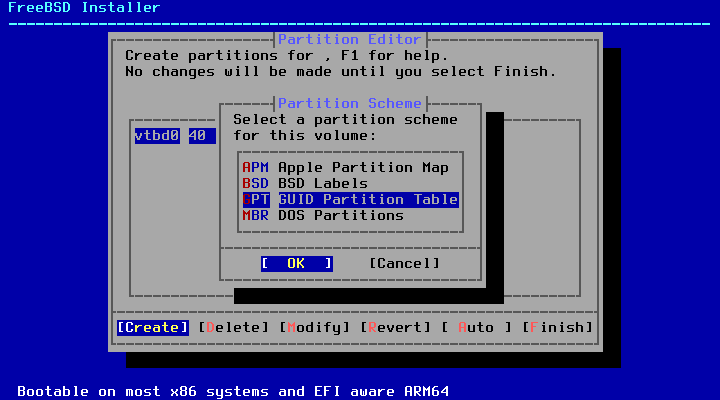
9. Subsequent, select GPT to create a Partition desk. GPT is normally probably the most chosen technique for amd64 computer systems. Older computer systems, which aren’t suitable with GPT ought to use MBR.
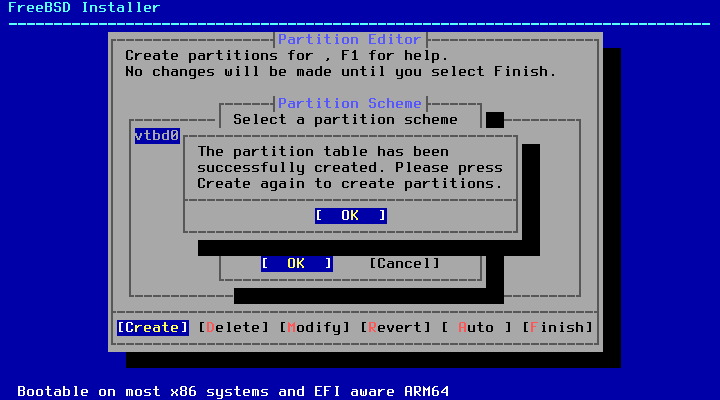
10. After creating the Partition desk, now you’ll be able to see that our Disk was modified to a GPT partition desk, Select ‘Create‘ to outline the partitions.
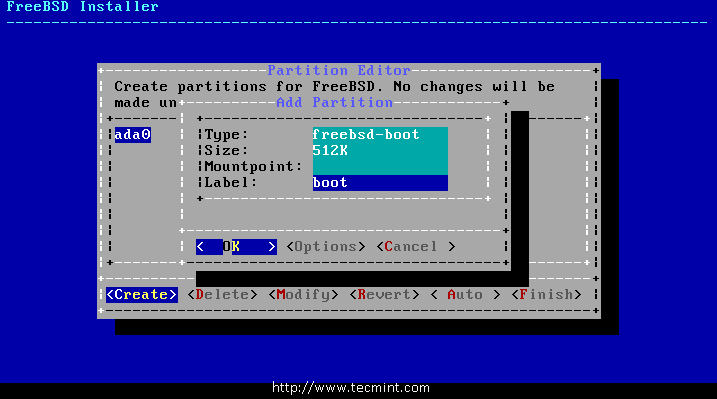
11. Now, right here we have to outline three Partitions for /boot, Swap, /. I’m going to outline my partition measurement as follows.
/boot – 512 MB in Measurement
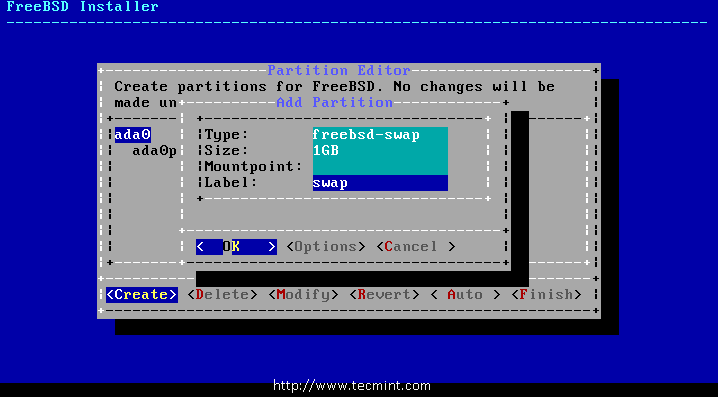
Swap 1GB in Measurement
/ 15GB in Measurement
Select ‘Create‘ and outline the partitions one after the other, at first boot ‘Kind‘ must be ‘freebsd-boot‘ and measurement right here I’ve used 512K and press OK to create the following Partition Swap.
Select ‘Create‘ and outline the swap partition for 1 GB and Press OK.
Then once more Select ‘Create‘ and outline / partition. Now use the remaining measurement for / partition. Use Kind as freebsd-ufs and mount level as /.
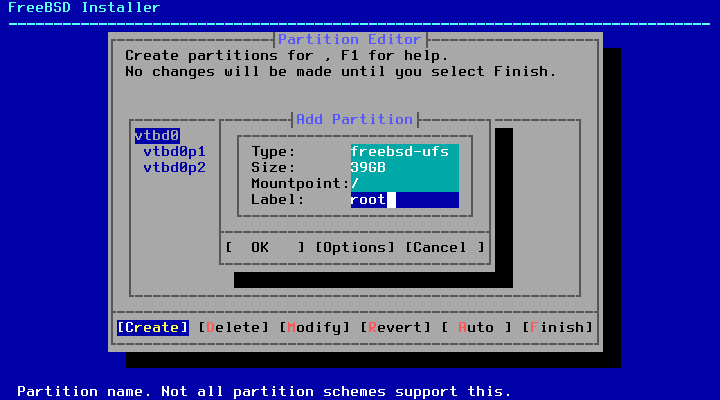
12. After creating all partitions we’ll get the beneath structure. Select ‘End‘ to maneuver ahead to the following step for set up.
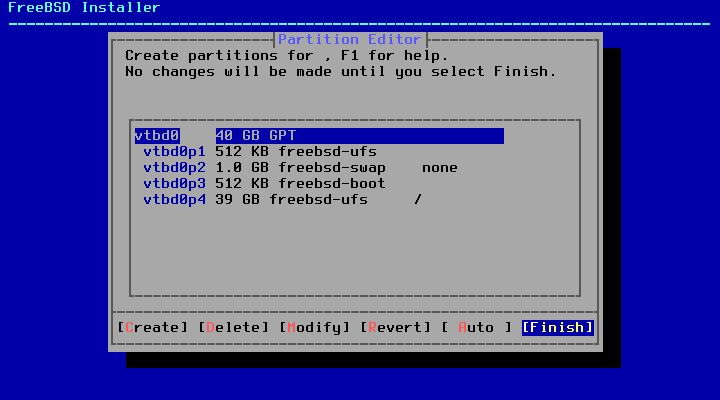
13. As soon as the disks are created, the following window gives the final probability to edit adjustments earlier than the chosen disk(s) are formatted. In the event you want to make a change, choose [ Back ] to return to the principle partitioning menu or choose [ Revert & Exit ] to exit the installer with out modifying any adjustments to the disk. However, right here we have to choose ‘Commit‘ to begin the set up and press ‘Enter‘.

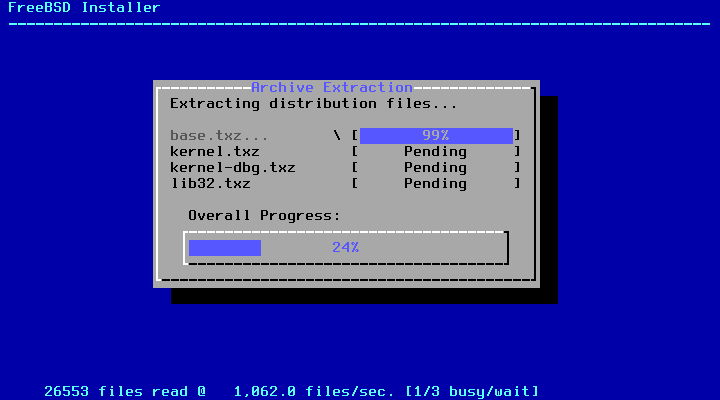
14. As soon as the installer codecs all chosen disks, then it initializes the partitions to obtain and confirm all the chosen parts, after which downloaded parts are extracted to the disk..as proven within the image beneath.
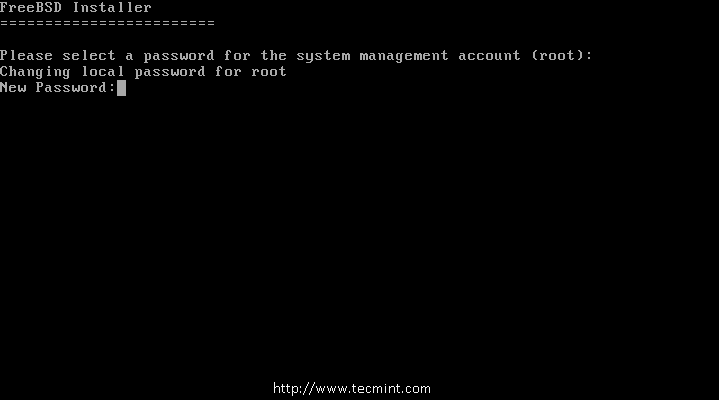
15. As soon as all requested distribution packages have been extracted to the disk, the following window shows the primary post-installation configuration display screen. Right here, first, you want to set the ‘root‘ password for our FreeBSD server.
Configuring Community Interface on FreeBSD
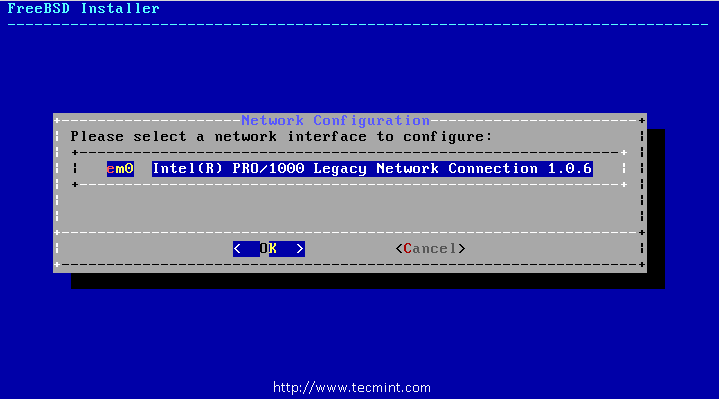
16. Subsequent, an inventory of obtainable community interfaces is displayed on the display screen, choose the interface to configure. Right here I’ve just one community adapter. You probably have a number of community adapters select the adapter that you want to use.
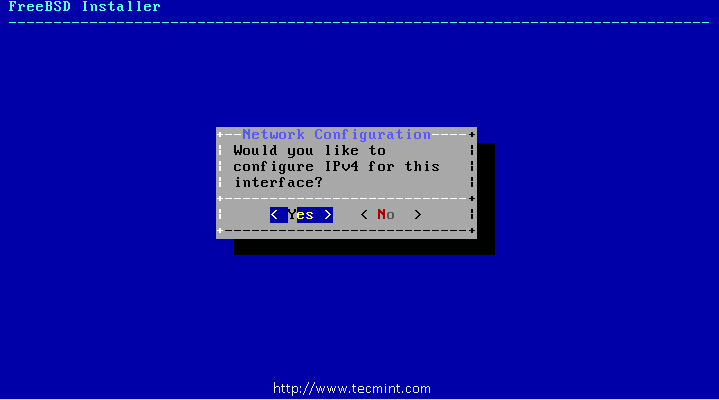
17. Subsequent, choose whether or not or not an IPv4 tackle needs to be outlined on the chosen Ethernet interface. Right here we’ve 2 choices to configure the community interface, one is utilizing DHCP which can routinely assign an IP tackle to our community interface, second is to outline IP tackle manually. However, right here we’re assigning a static IP tackle to the pc as proven beneath.

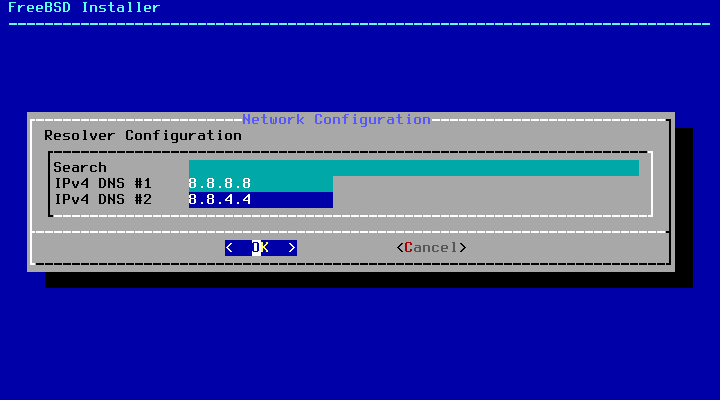
18. Subsequent, enter a sound DNS server IP in IPv4 DNS #1 and #2 and Press OK to proceed.
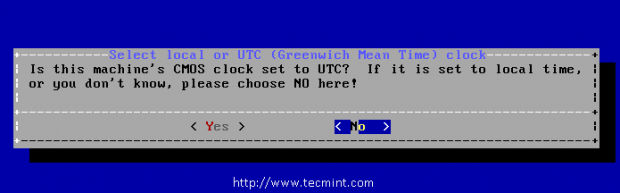
19. The following possibility prompts you to verify the system clock makes use of UTC or native time, if in case you have doubt, simply choose ‘No‘ to pick out the extra generally used native time.
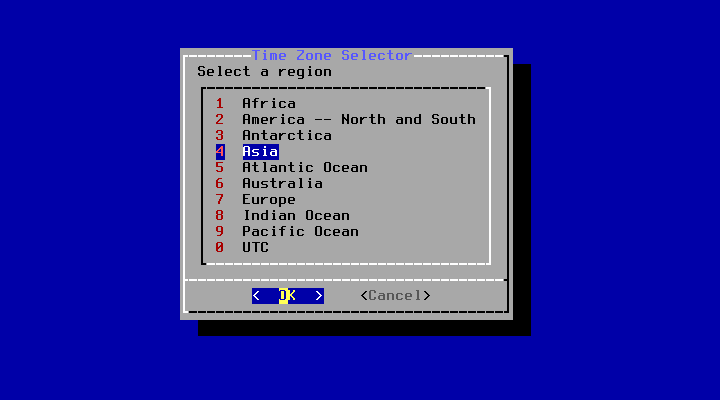
20. The following home windows ask you to set the proper native time and time zone.
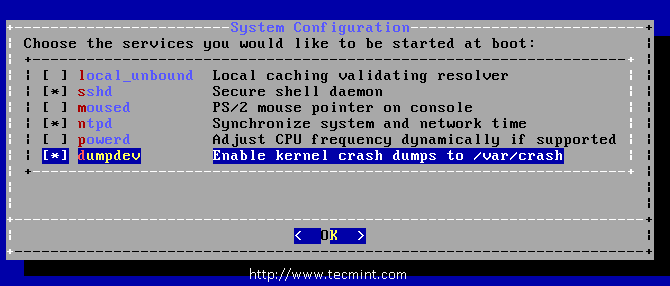
21. Subsequent, choose the providers that you just wish to begin at system boots.
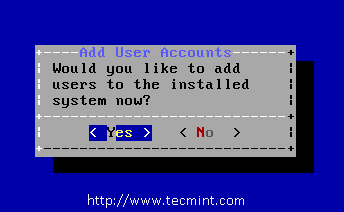
22. The following possibility, asks you to create at the least one consumer account to login into the system as a non-root account to maintain the system extra protected and safe. Choose [ Yes ] so as to add new customers.
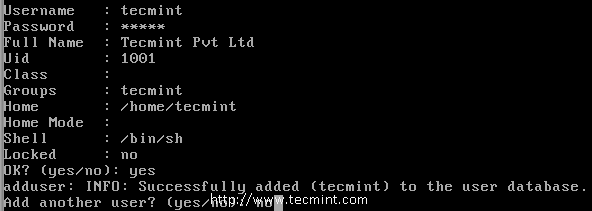
Observe the prompts and enter the requested info for the consumer account (for instance consumer ‘tecmint‘) as proven within the image beneath.
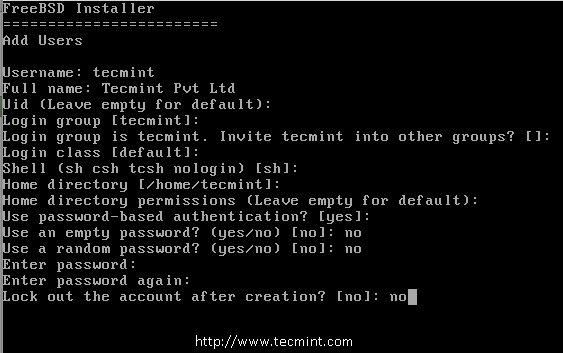
After getting into the consumer info above, a abstract is proven for overview. If any mistake was made throughout consumer creation, enter no and take a look at once more. If all the pieces is entered appropriately, enter sure to create the brand new consumer.
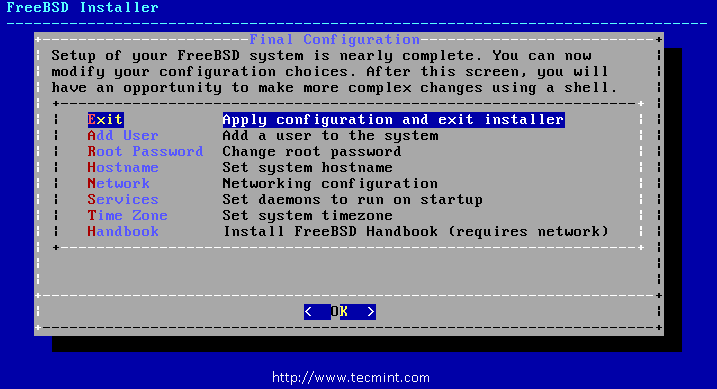
23. After configuring all the pieces above, a closing probability is given to change or change settings. After any closing configuration is full, choose Exit.
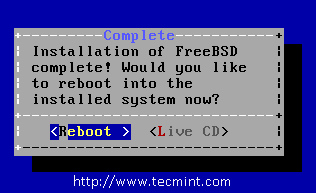
24. After set up is accomplished, choose ‘Reboot‘ reboot the system, and begin utilizing your new FreeBSD system.
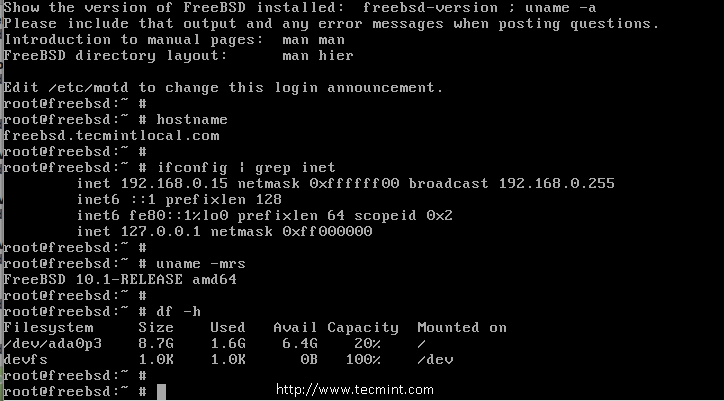
25. After the reboot completes we’ll get the Terminal to log in for an account, By default, we could have root and tecmint which we now have created throughout set up. Login to the basis account and verify for system info corresponding to IP Handle, host title, file system disk area, and launch model.
# hostname
# ifconfig | grep inet
# uname -mrs // To get the Put in FreeBSD launch model.
# df -h // Disk area verify.
Conclusion
On this article we now have seen, how we’ve put in and configured FreeBSD, in my subsequent upcoming article, we’ll see methods to set up and configure packages in FreeBSD. In the event you’ve any queries about set up, be at liberty to drop your precious feedback beneath.


![[SOLVED] ShareFile for Outlook Has Fired an Exception Error](https://mspoweruser.com/wp-content/uploads/2024/07/sharefile-for-outlook-has-fired-an-exception.png "[SOLVED] ShareFile for Outlook Has Fired an Exception Error")


’ designs, specs, and price leaked ahead of next week’s launch")


")

")


")


