

The Google Pixel sequence comes with a batch of software program options, together with the helpful Magic Eraser digicam modifying function.
Taking the proper image may be very exhausting. Whether or not it’s an unwelcome photograph bomber or an object that you simply simply don’t need within the background, it may be exhausting to craft a photograph that you simply’re really pleased with.
Magic Eraser goals to repair that downside. It was launched with the Pixel 6 and Pixel 6 Professional and has been a mainstay since, that includes within the Pixel 7 vary of handsets too. We additionally count on that it’s going to make an look within the Pixel 8 vary of handsets, however we should wait till Google’s official announcement to make certain.
So, in case you have a appropriate handset, then you’ll want to just be sure you make the most of this nifty digicam trick. When you have a appropriate telephone and need to learn to take advantage of the Magic Eraser function then be sure to preserve studying, as we’re going to be working via the way to use it in just some easy steps.
What we used
The Brief Model
Open the Google Pictures appTap Edit on the photograph you need to changeTap on instruments, and choose Magic EraserEither approve the advised edit, or circle an object manuallyOnce full, save the photograph by tapping Executed
£30 monthly for the Google Pixel 7 and 100GB of knowledge
The Pixel 7 is likely one of the greatest telephones we’ve reviewed this 12 months, particularly for the worth. Now you will get it for an unimaginable value that features 100GB of knowledge on the Three community for simply £30 monthly, making it much more inexpensive. If you happen to’re a eager cellular photographer, it’s a really perfect handset for you.
Inexpensive Mobiles
100GB, limitless minutes, limitless texts, and no upfront price
£30 monthly
View Deal
Step 1
Open the Google Pictures app
Initially, open up the Google Pictures app and choose the photograph you’d like to vary. The Google Pictures app resembles a paper windmill in colors of yellow, crimson, inexperienced, and blue.
Step 2
Faucet Edit on the photograph you need to change
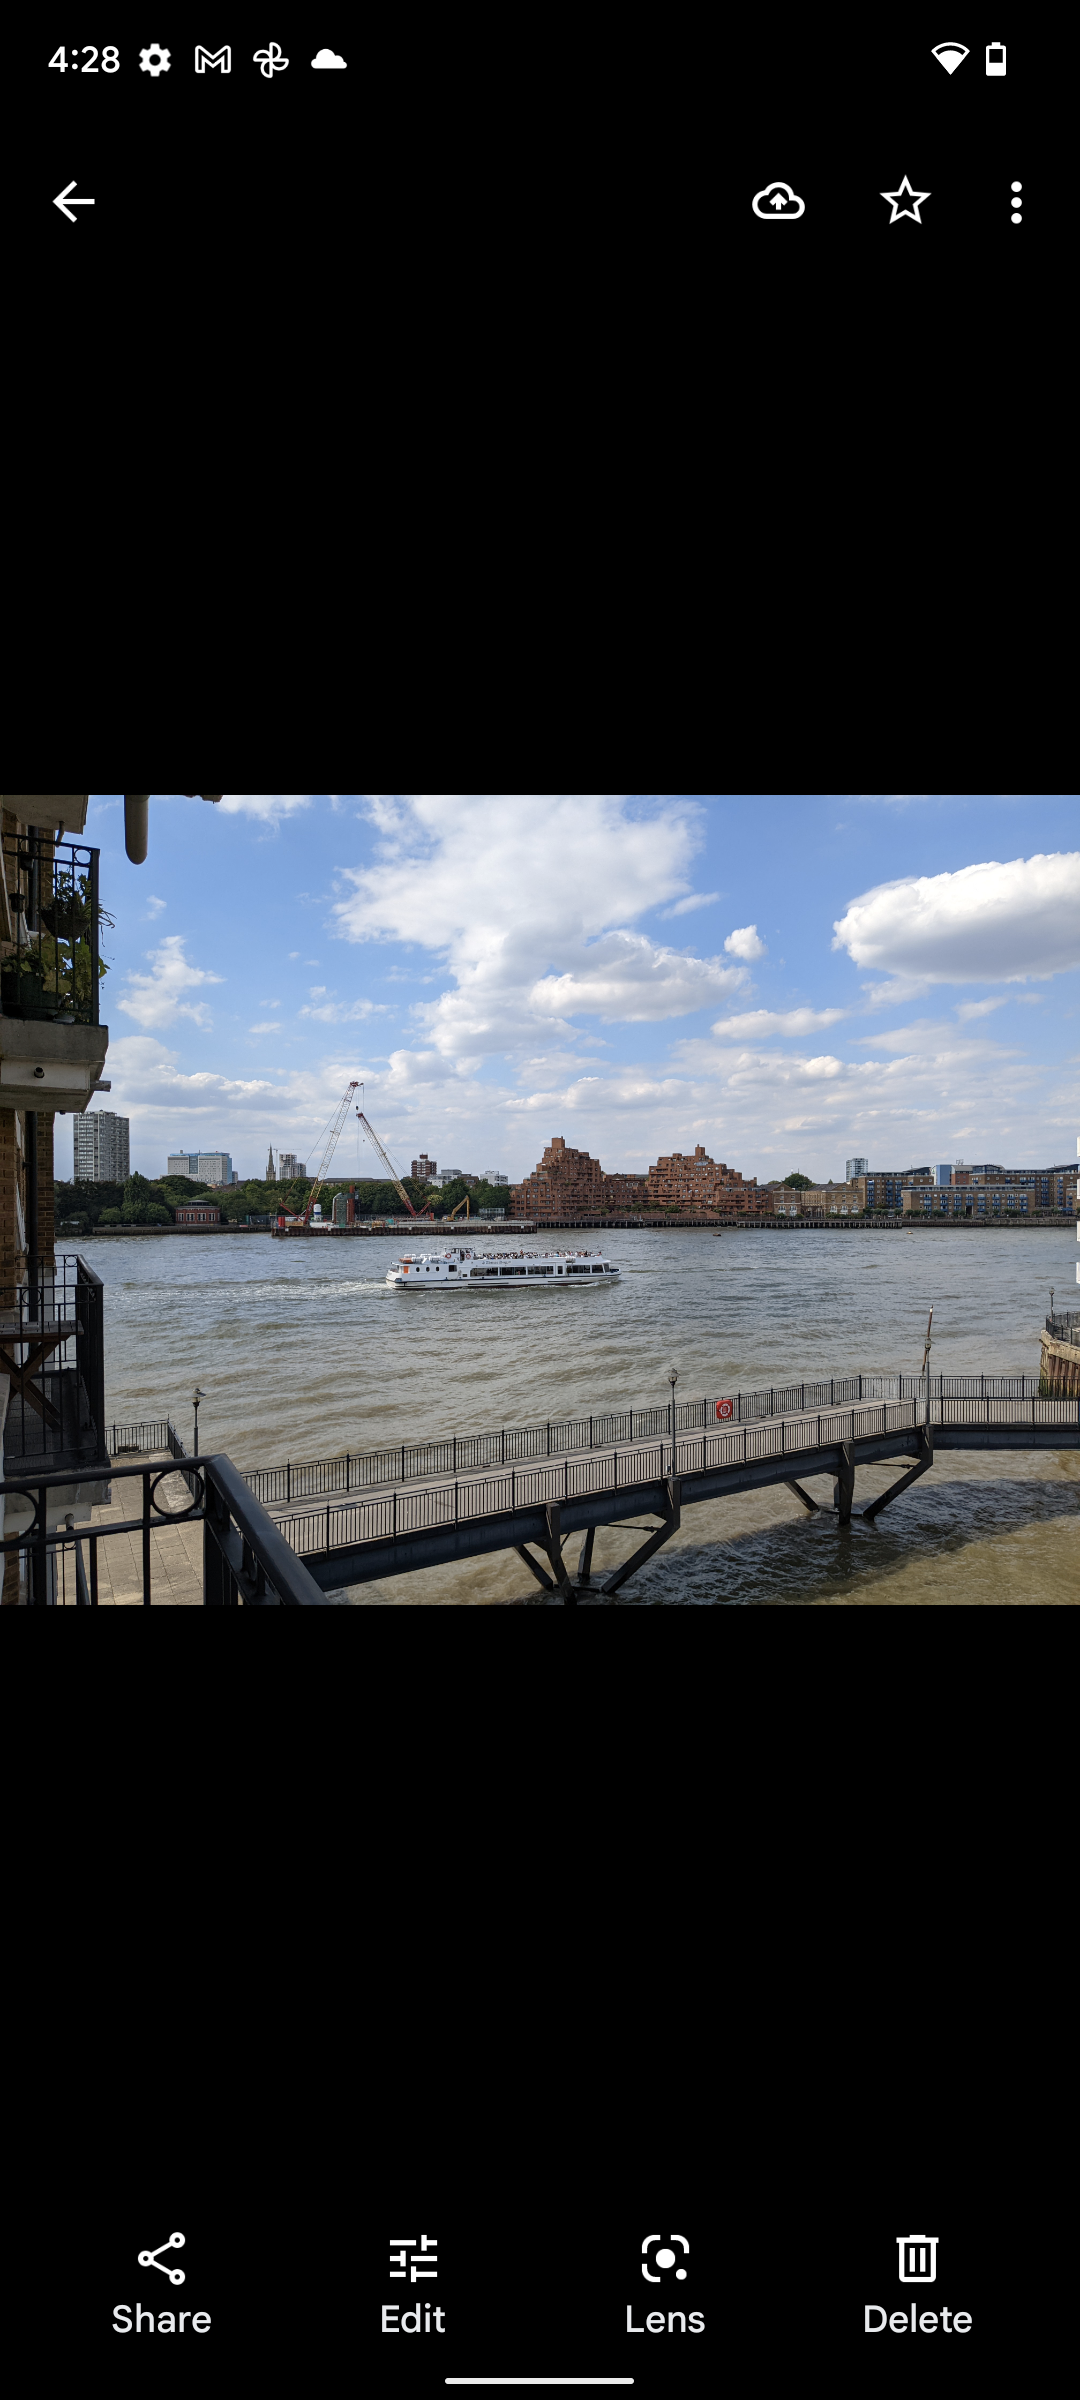
Faucet Edit on the picture in query, mentioning the modifying menu.
Step 3
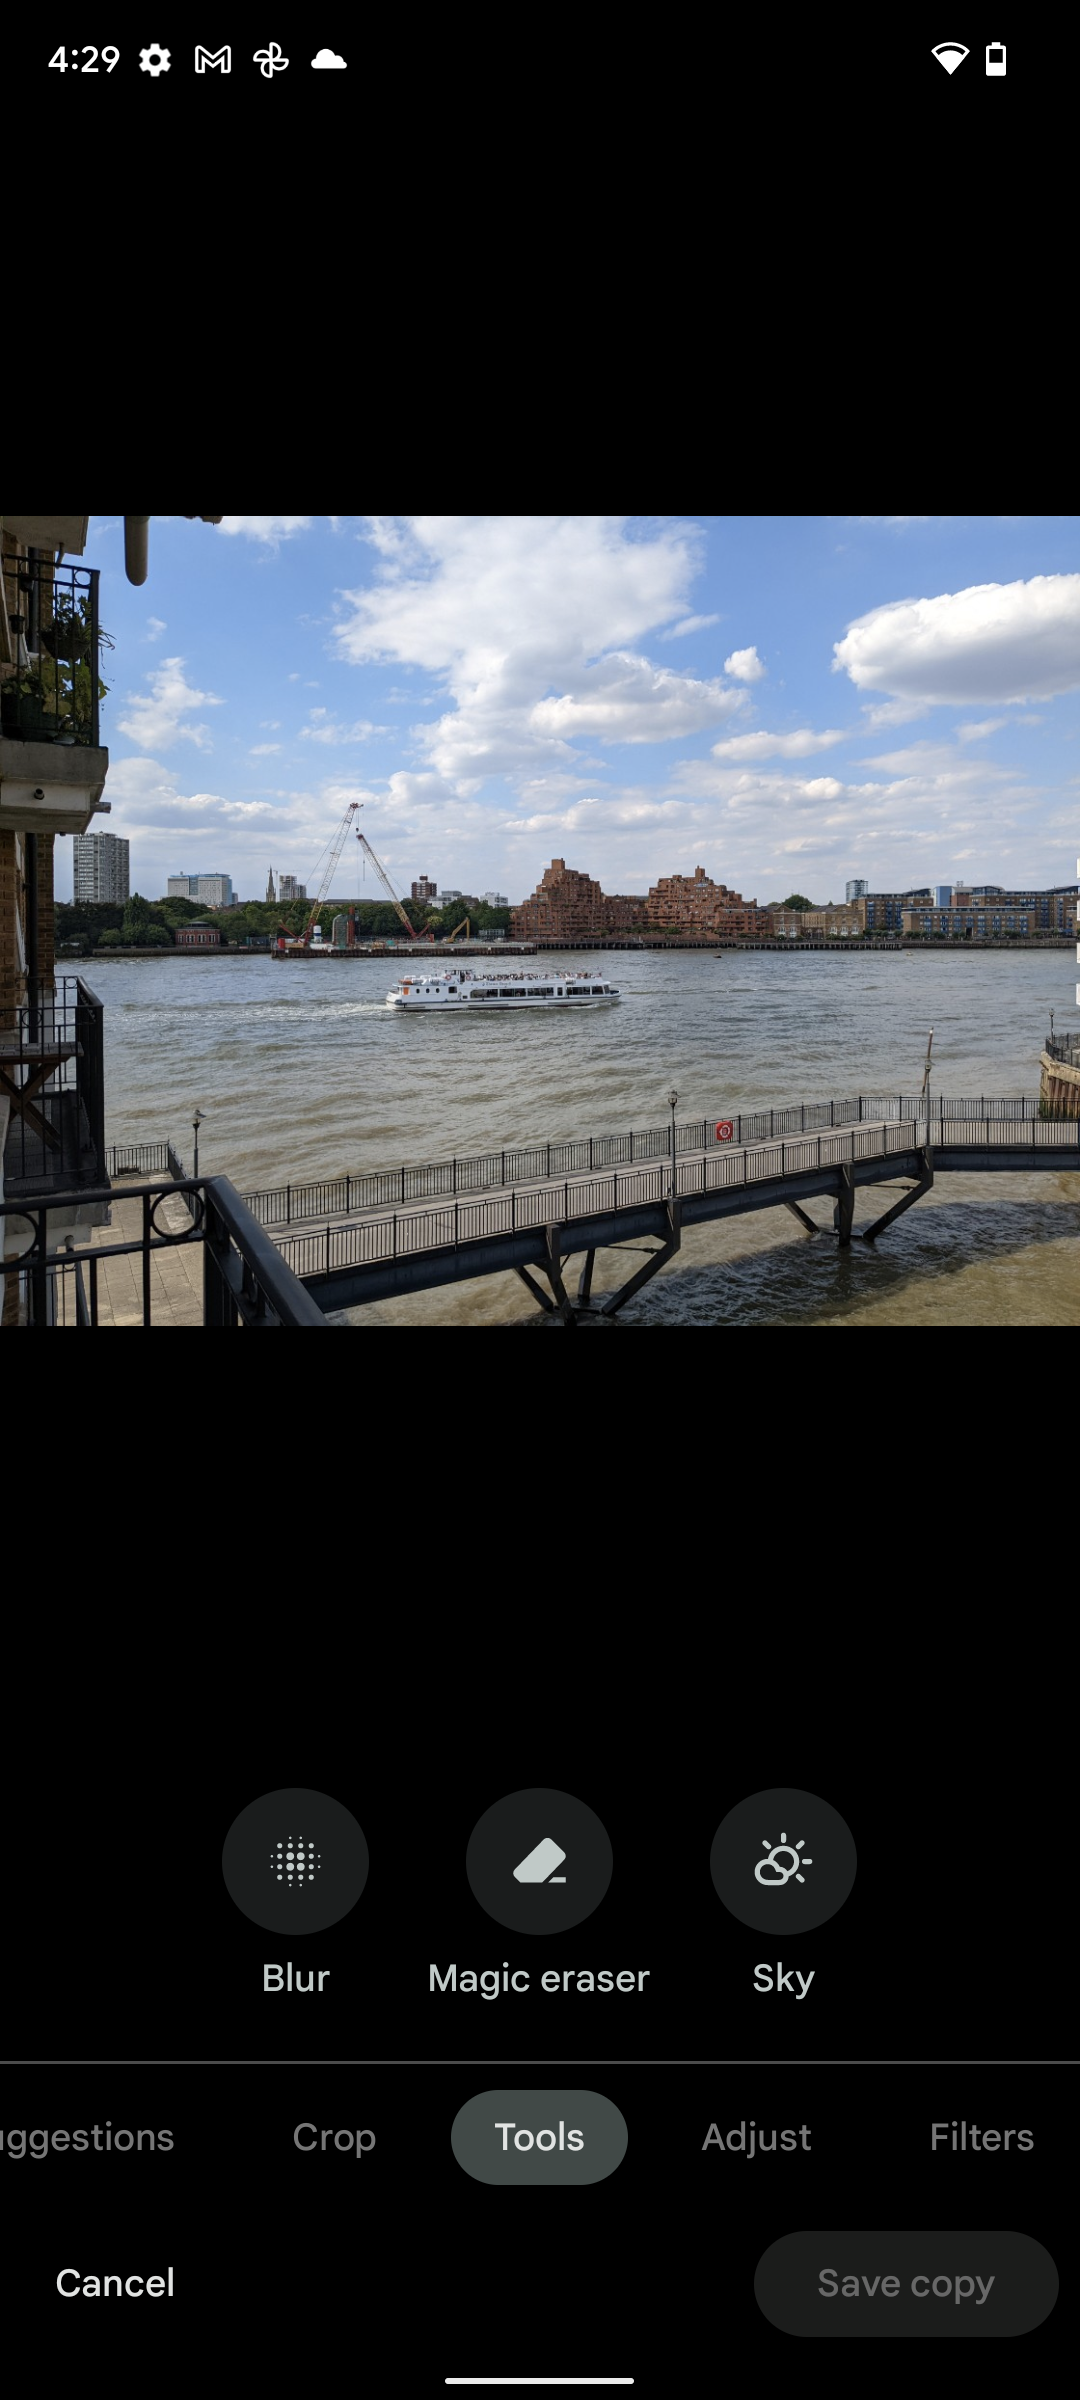
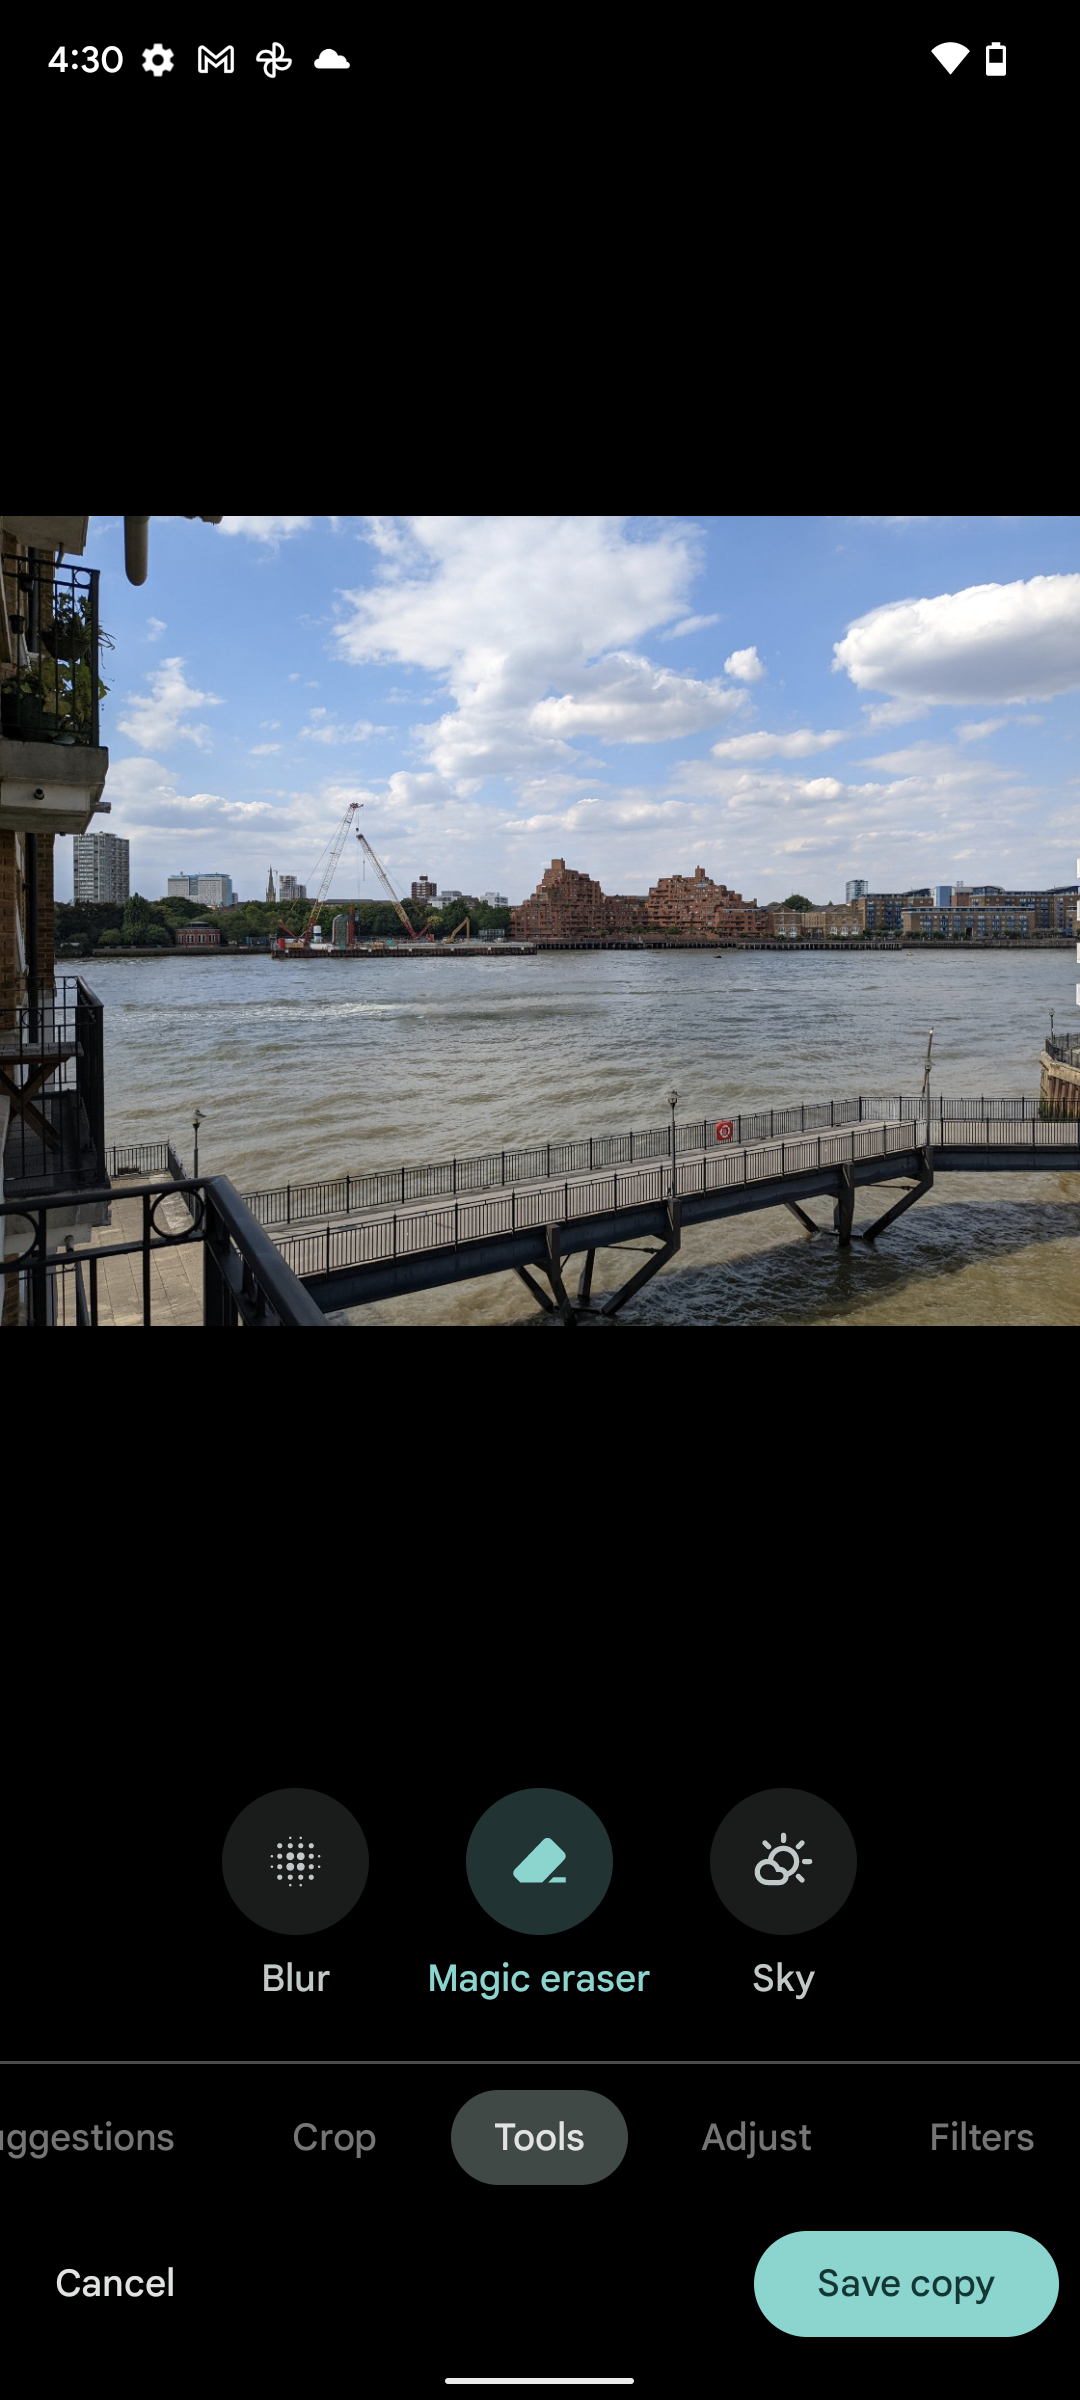
Scroll throughout the underside of the show and also you’ll see an choice for Instruments. Faucet on this, after which on Magic Eraser.
Step 4
Both approve the advised edit, or circle an object manually
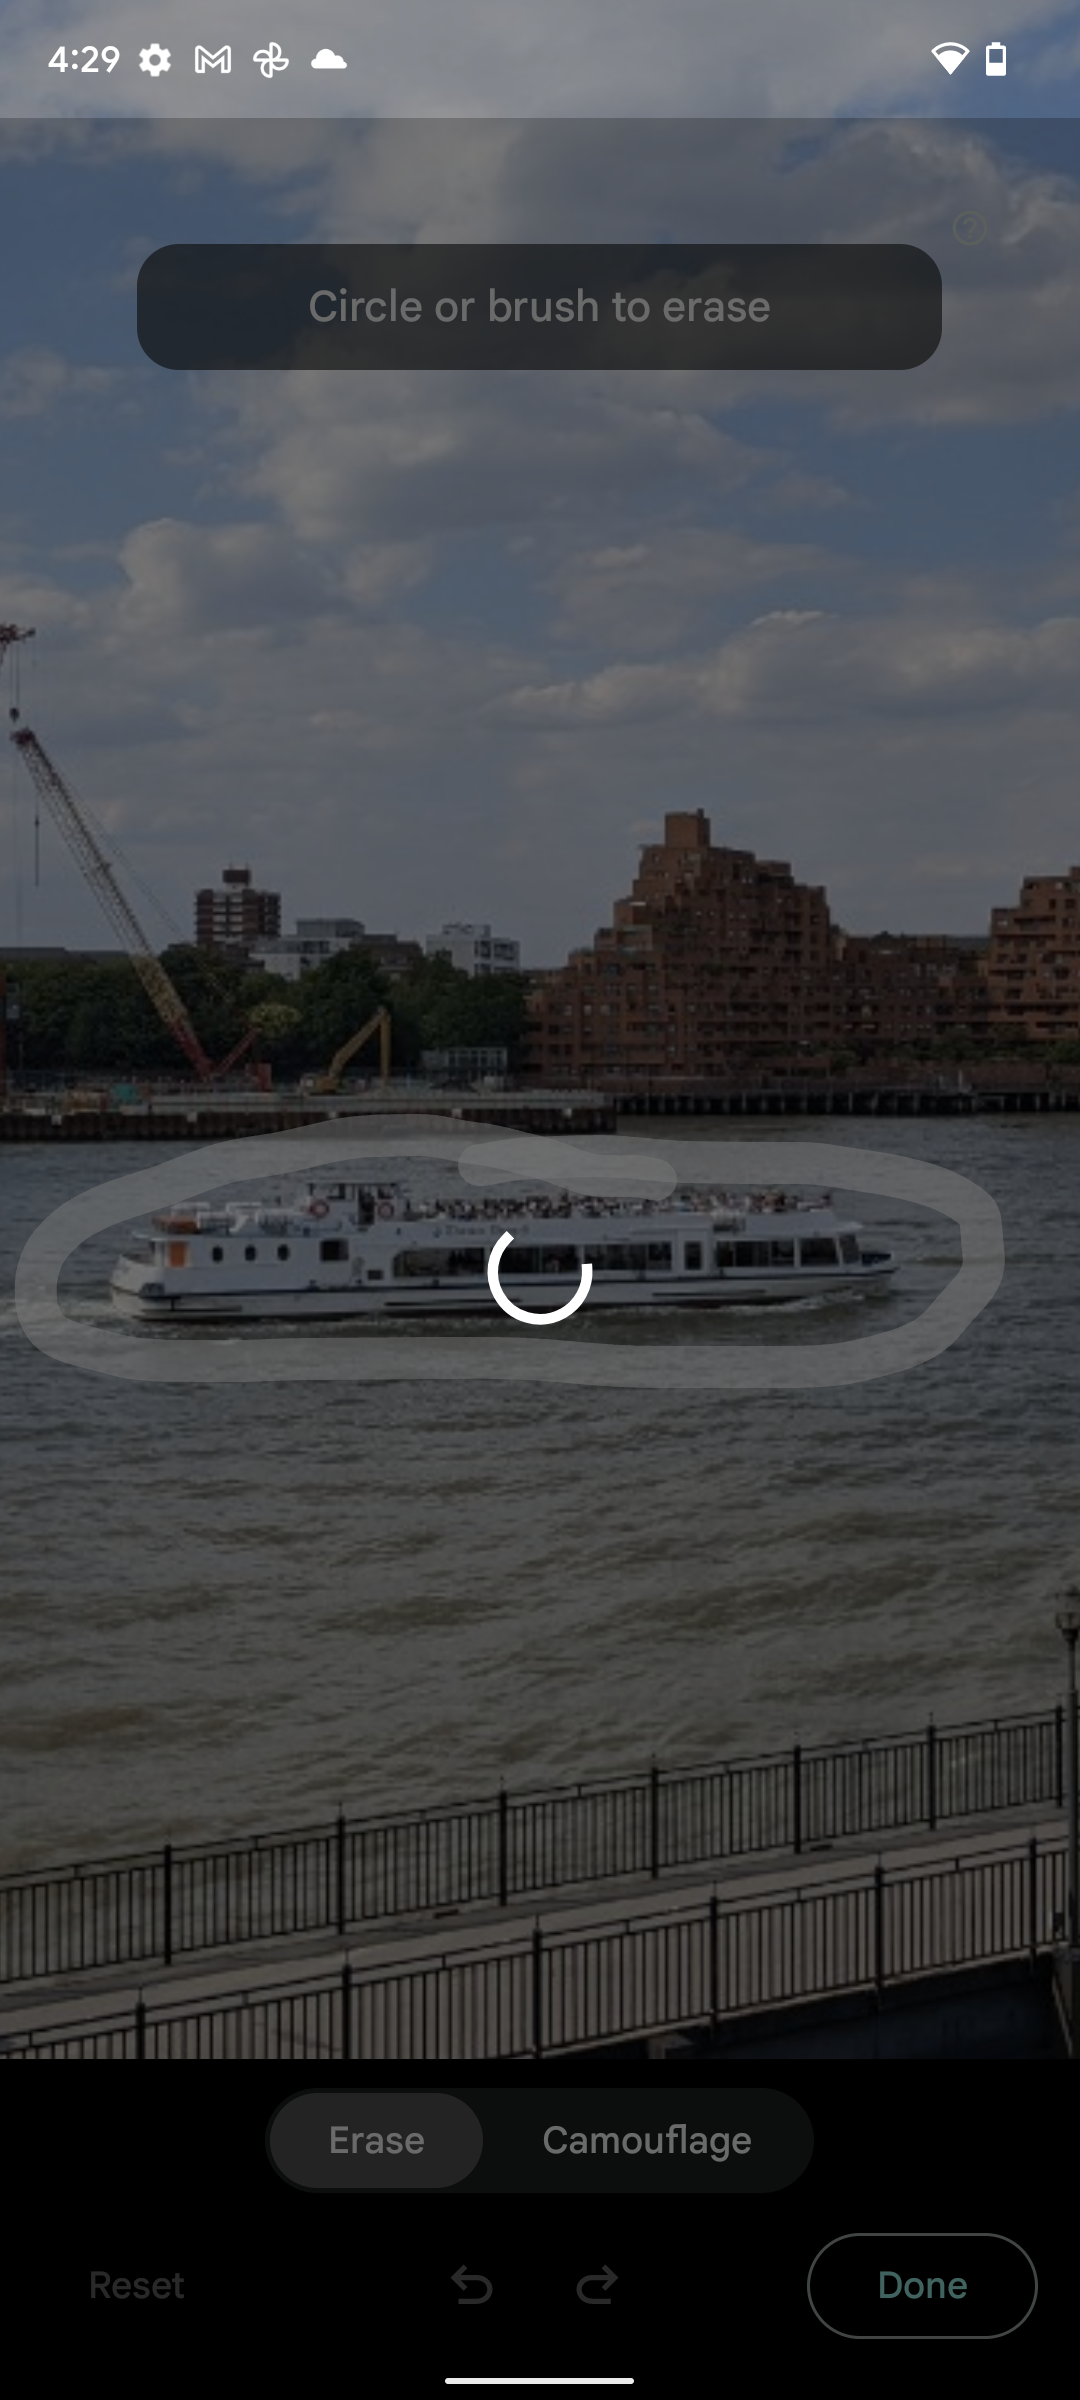
If you open the Magic Eraser, it’s possible you’ll be given a pre-selected alternative of objects to take away. If the thing you need to eliminate is highlighted, then you’ll be able to faucet on the define so as to eliminate it. Nevertheless, if it’s not already highlighted then you definately’ll want to attract a circle across the bit you need to lose. That is greatest achieved with objects within the background or aspect of the body, however we’ll use a big object as a visually clear instance.
Step 5
As soon as full, save the photograph by tapping Executed
Now that the thing has been efficiently eliminated, faucet Executed after which Save Copy to save lots of the brand new image.
FAQs
No, at present it’s an unique function to the newest era of Google Pixel telephones
By default, the edited image will likely be saved as a duplicate, so it is not going to rewrite the unique photograph. Nevertheless, in case you delete the unique image then you definately can not re-insert deleted elements into the edited photograph.


")

")


